Getting Start
General Information
Thank you for purchasing our theme. We are happy that you are one of our customers and we assure you won't be disappointed. We do our best to produce top notch themes with great functionality, premium designs and human readable code. Before you get started we highly encourage you to get familiar with this documentation file. Spending half an hour reading the manual may save a lot of your time and avoid questions with obvious answers.
If you have any questions that are beyond the scope of this help file, please feel free to send your questions to our support email: bkninja.team@gmail.com. Our support team will reply you within 12 hours.
Please Note!
Our support covers getting setup, trouble using any features, and any bug fixes that may arise.
Unfortunately, we cannot provide support for customizations or 3rd party plugins. If you need help
with customizations of the theme, then you can contact us and we will offer you our customize serfashioe.
CMS HubSpot Information
To use this theme you must have create account CMS HubSpot.
How to create account CMS HubSpot - A tutorial on how to create your account CMS HubSpot.
How To Install The Theme
- Access your hubspot account.
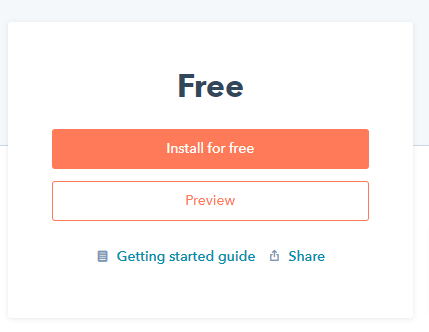
- In your HubSpot account, click the Marketplace > Asset Marketplace choose the theme RealHouse
- In the right top click Install for Free
Create and publish a page
Create New Page
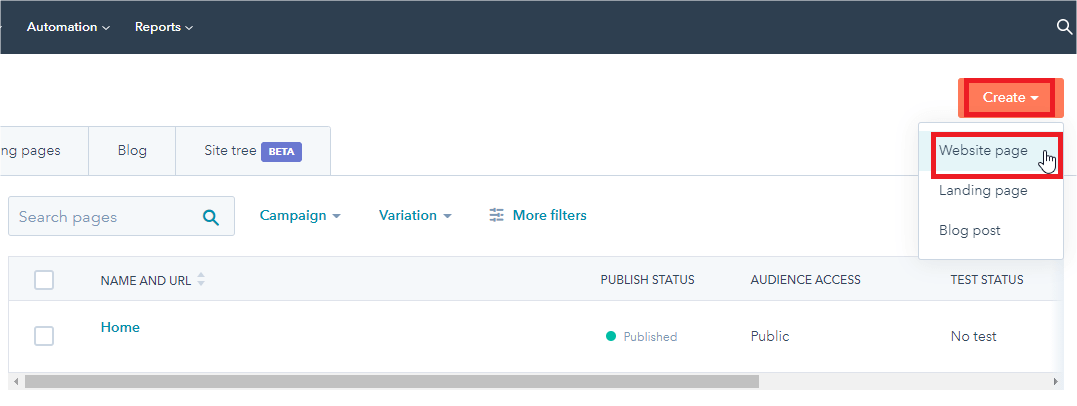
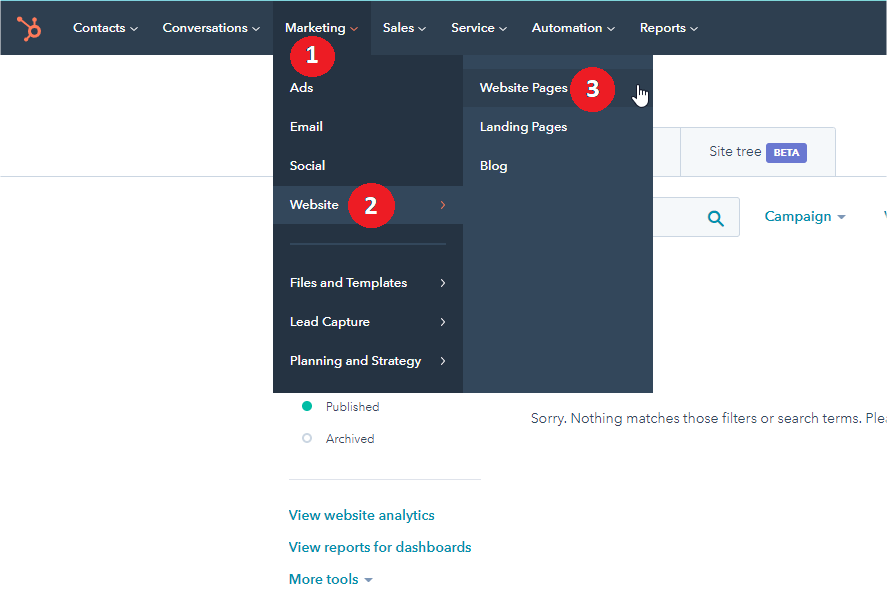
- In your HubSpot account, navigate to Marketing > Website > Landing Pages or Website Pages.
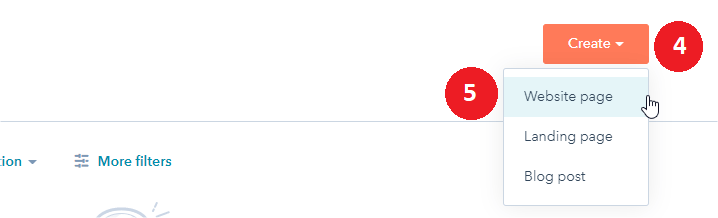
- In the upper right, click the Create dropdown menu and select Website page or Landing page.
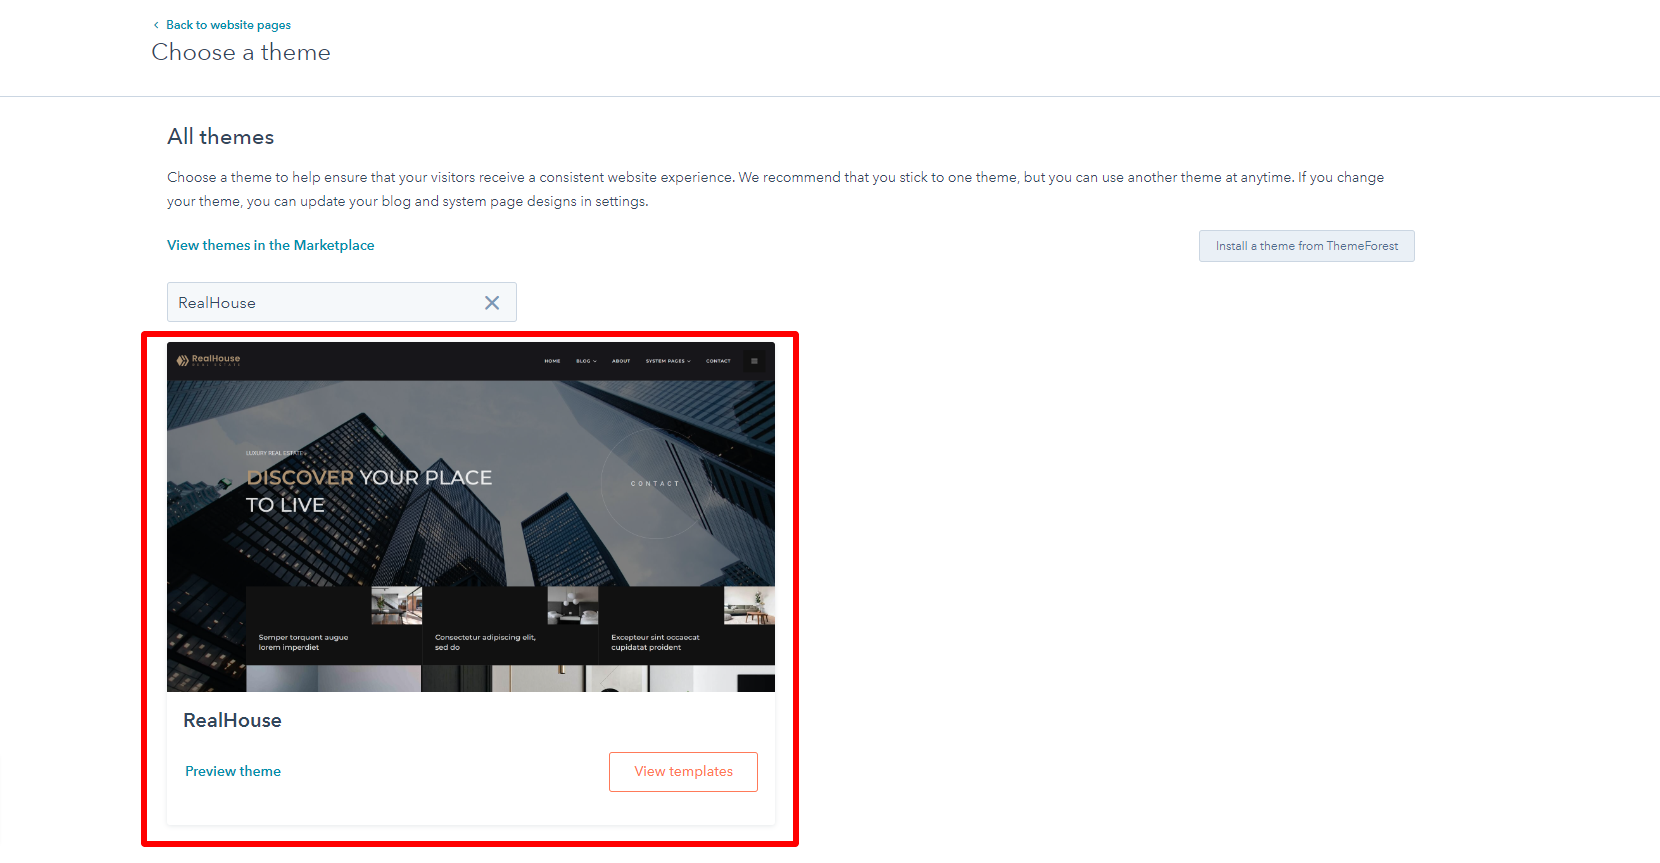
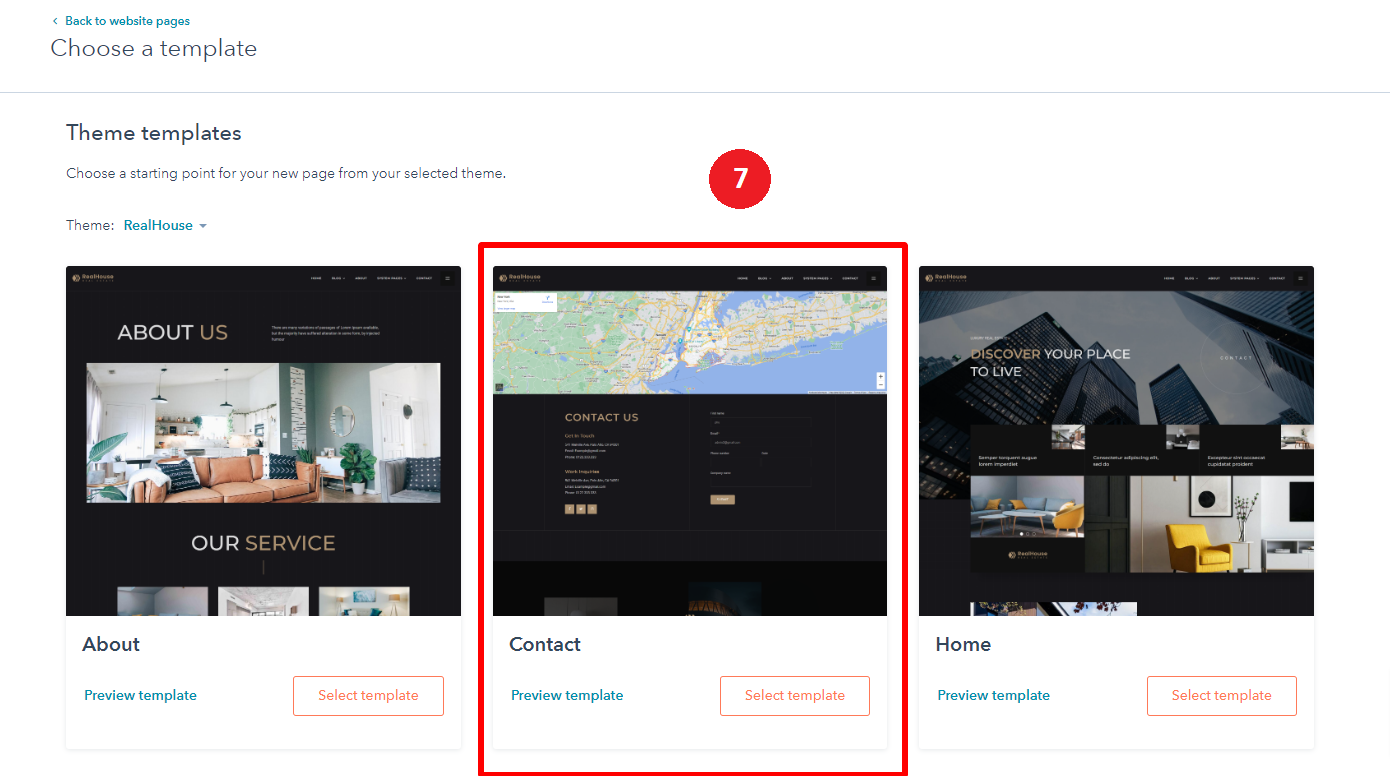
- Hover over a template and click Preview in the upper right to see how it will appear on desktop or mobile defashioe. To create a new page with this template, click Use template in the upper right.
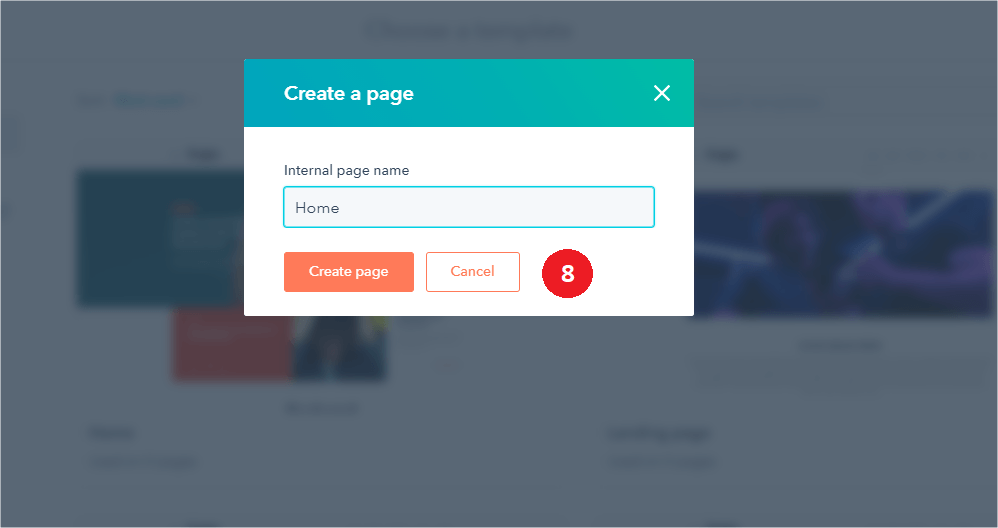
- After choose template, choose Page.
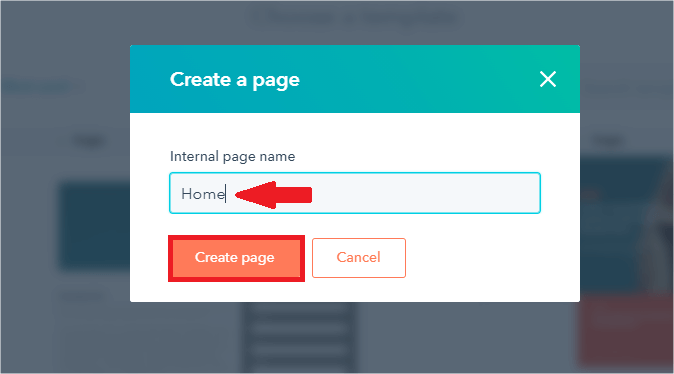
- Give your page an internal page name and click Create page.
Please note: you'll be required to give your page a public title in your settings before publishing it.

Edit an existing page
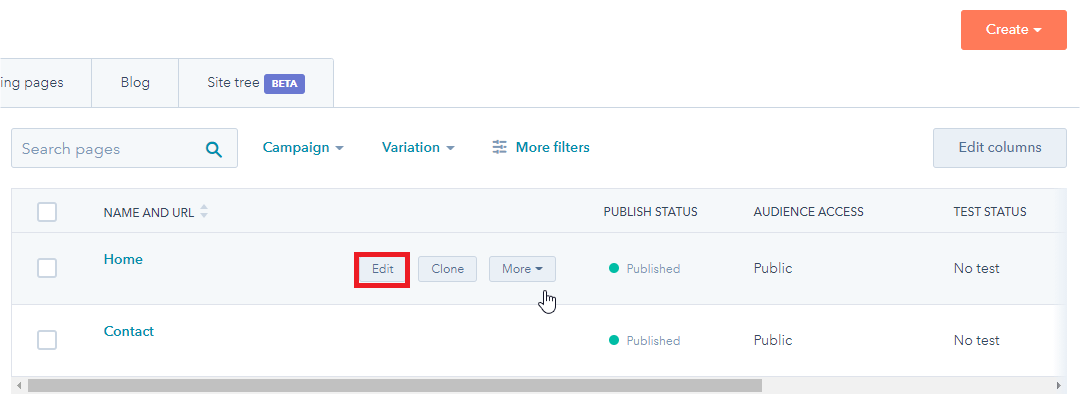
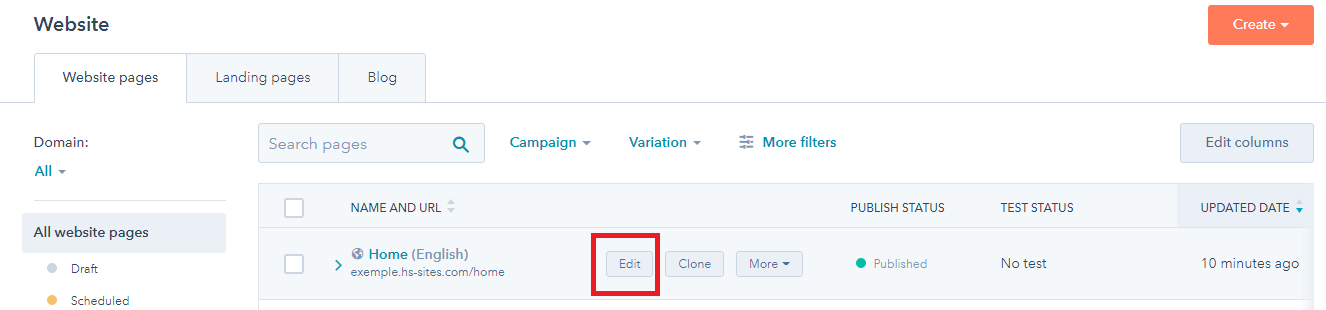
- In your HubSpot account, In your HubSpot account, navigate to your landing pages or website pages..
- Hover over an existing page in your dashboard and click Edit.
Edit content in a module
Note*: In the Contents tab on the left, you can view and edit all the modules in your page template. If your page contains global content, such as a page header, you'll edit this in your page within the global content editor.
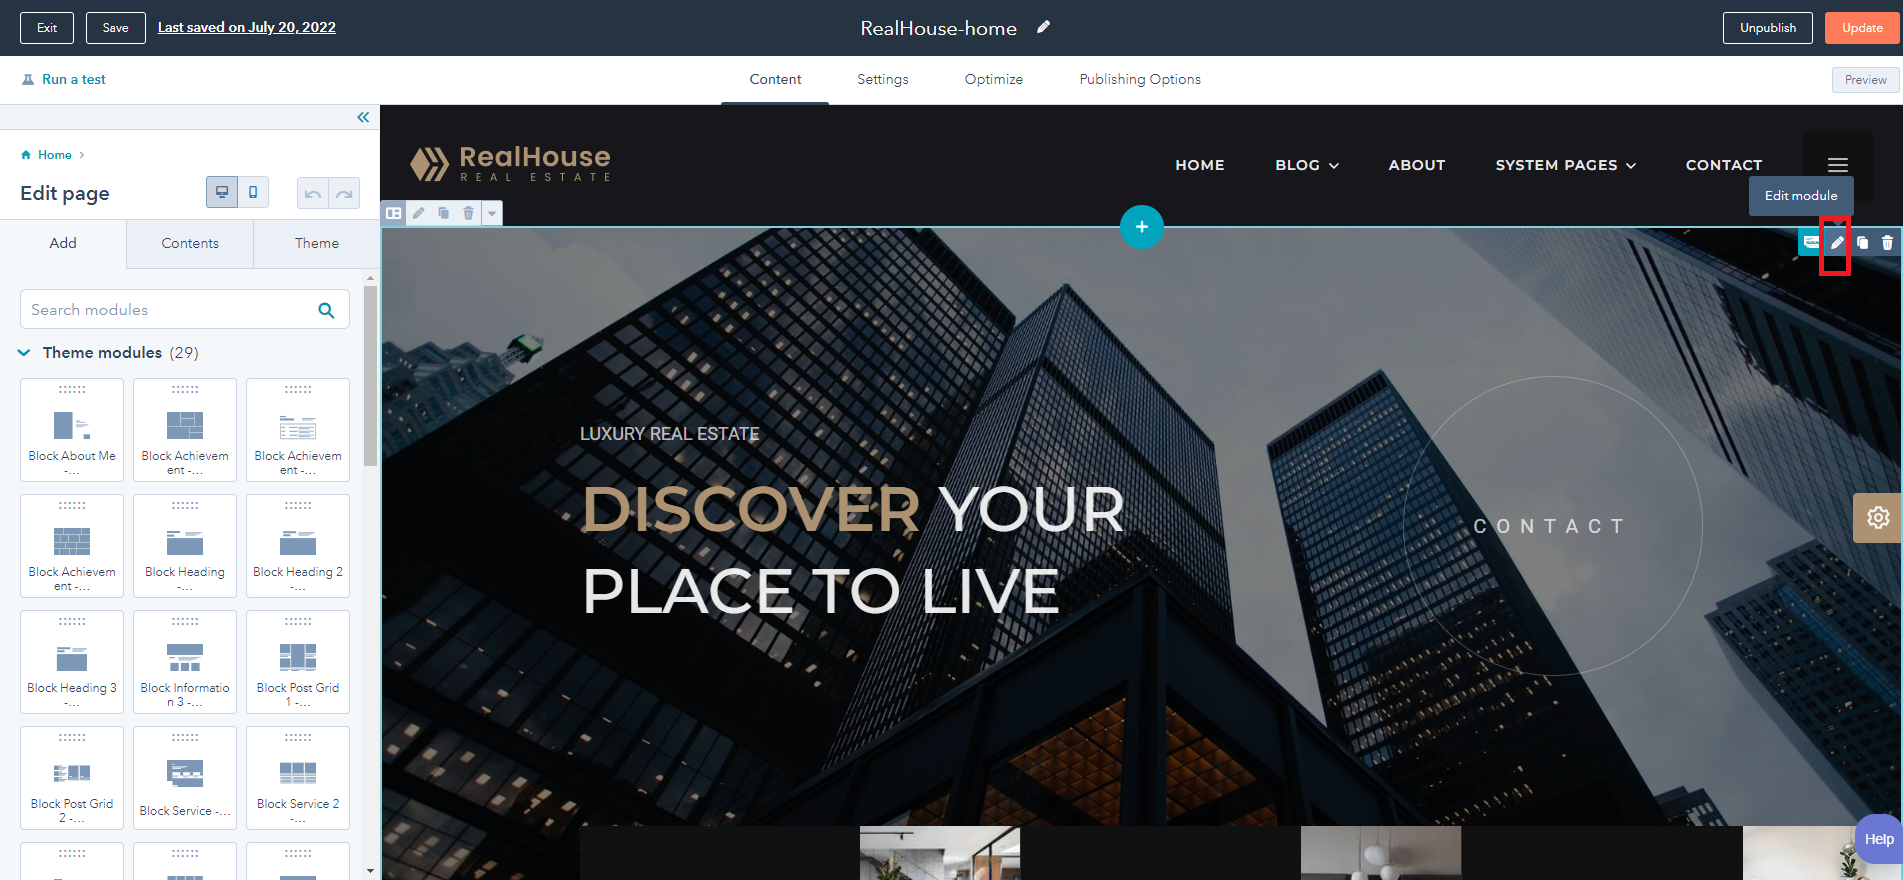
- To edit a module's contents, hover over the module and click the edit pencil icon.
- Some module types, such as headings, can be edited inline directly on the page preview. Clicking a module will also open its editing options in the left panel.
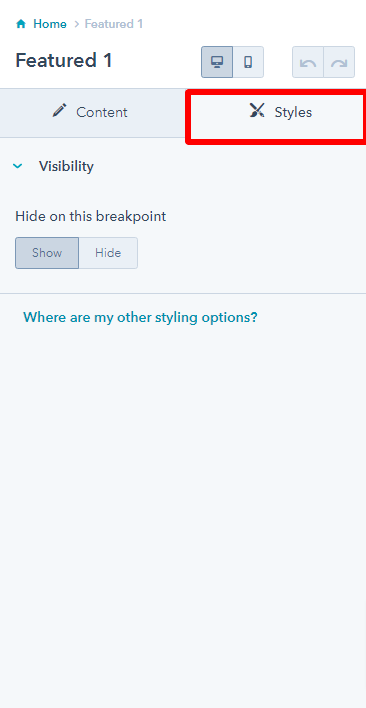
- Click a module to select it in the editor. In the left panel, click the Styles tab to access the styling options for that particular module


Edit your page settings
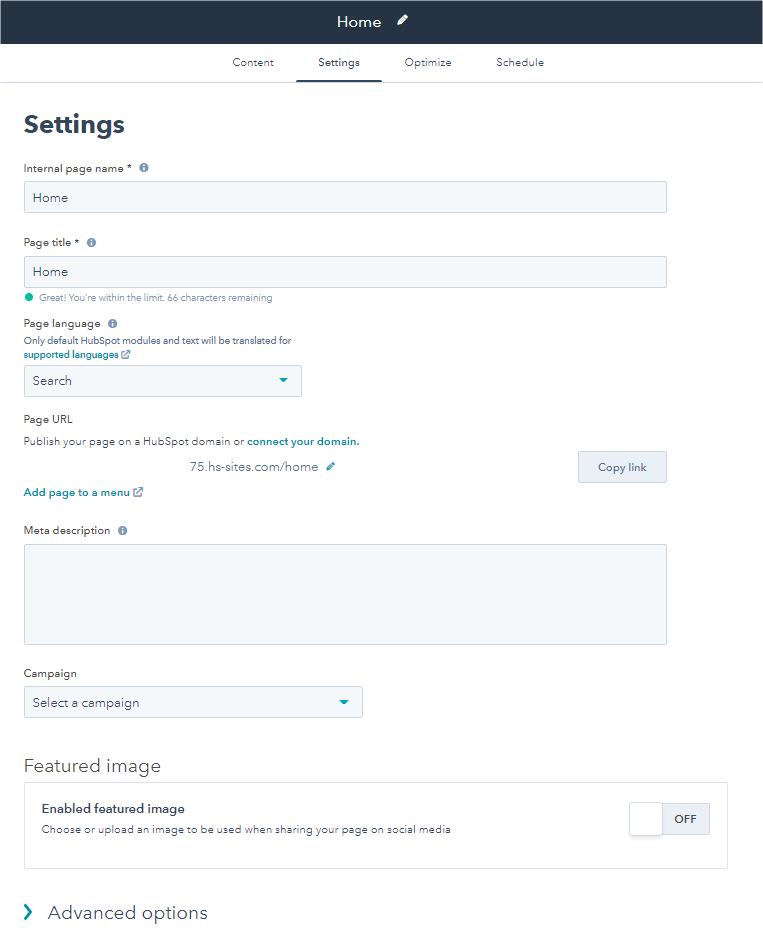
- To edit your page settings and add some basic page information, click the Settings tab at the top of the page editor.
- Setting Pgae:
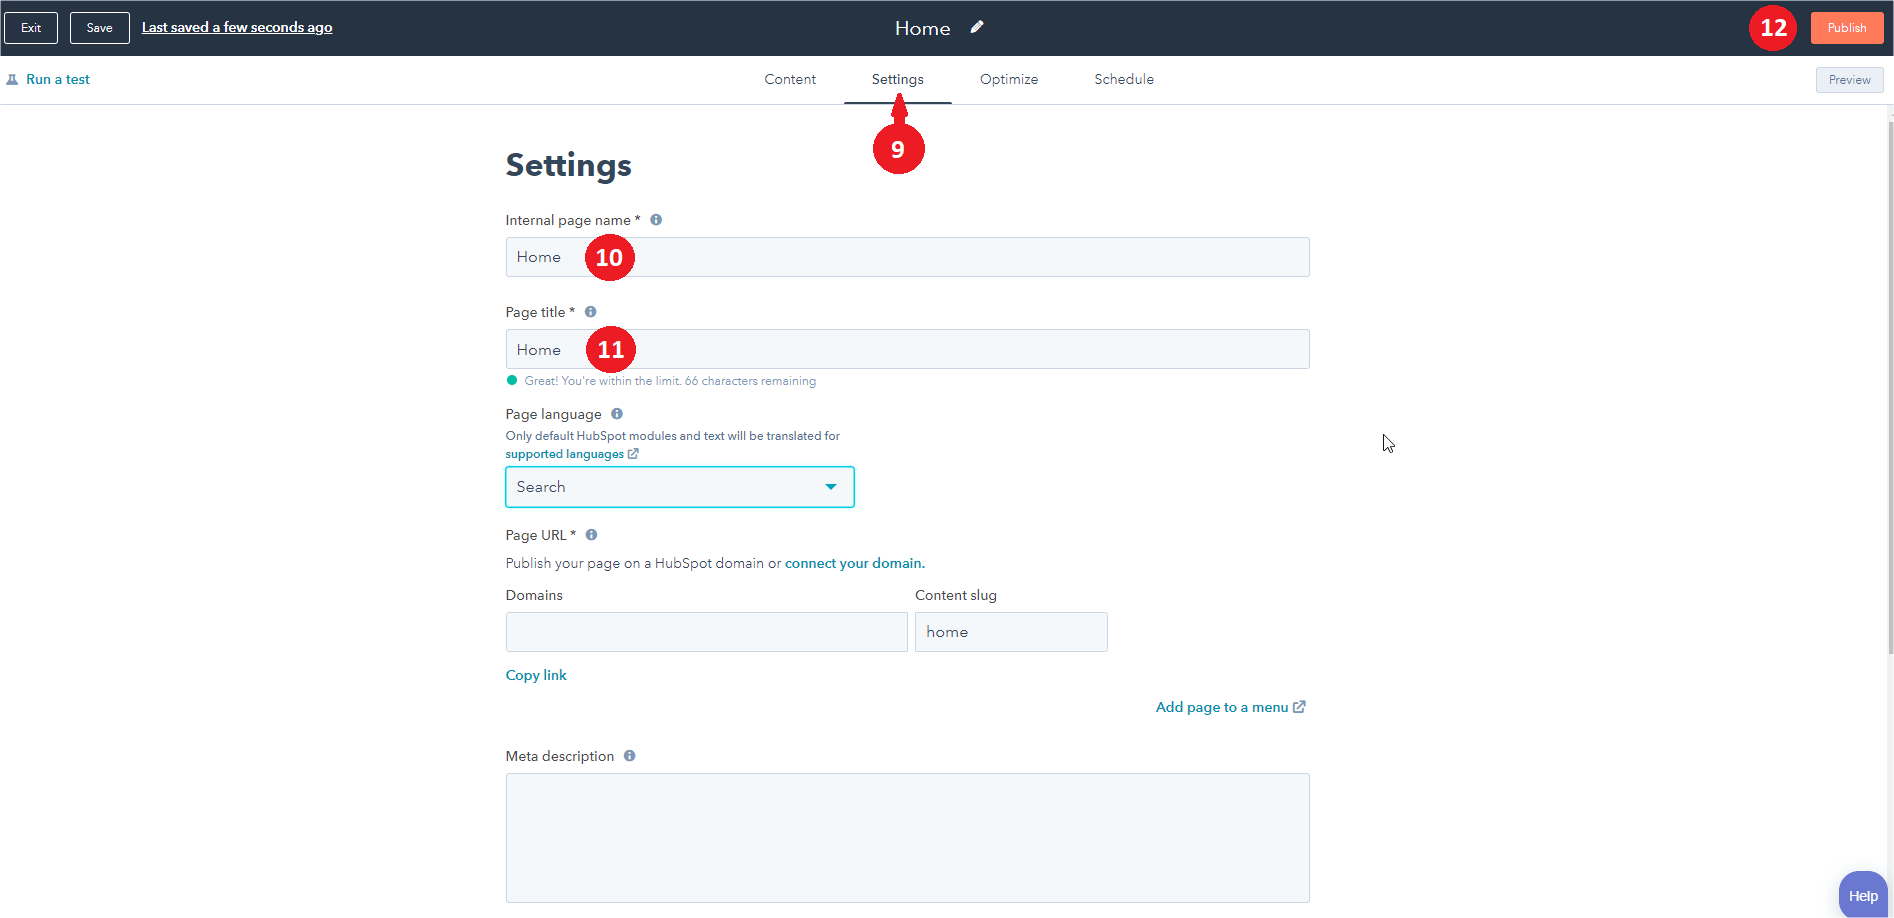
- Internal page name: the internal page name is the name you added when you first created the page and is referred to in the dashboard. It is not shown to visitors.
- Page title: the title that displays in the tab at the top of your web browser when the page loads.
- Page URL: the URL for your page. It appears in the URL bar within the browser when visitors navigate to this page. You can edit your page URL even after it's been published.
- Add page to a menu: add the current website page you're working on to a new or existing advanced menu in your content settings.
- Meta description: the content that will appear in search results below the page title.
- Campaign: associate your page to a HubSpot campaign. Select Add new to create a new campaign.
- Featured image: click to toggle this switch on for a specific image to be featured when your page is shared on social media. Click Upload to select an image from your computer or Browse images to select an image from your files tool.
- Once you've finished completing all the required items for your page, click Publish.
Create Home page
Setup home page with CMS Hubspot
- In HubSpot, navigate to Marketing > website > website Pages.
- Click to Create choose website Pages.
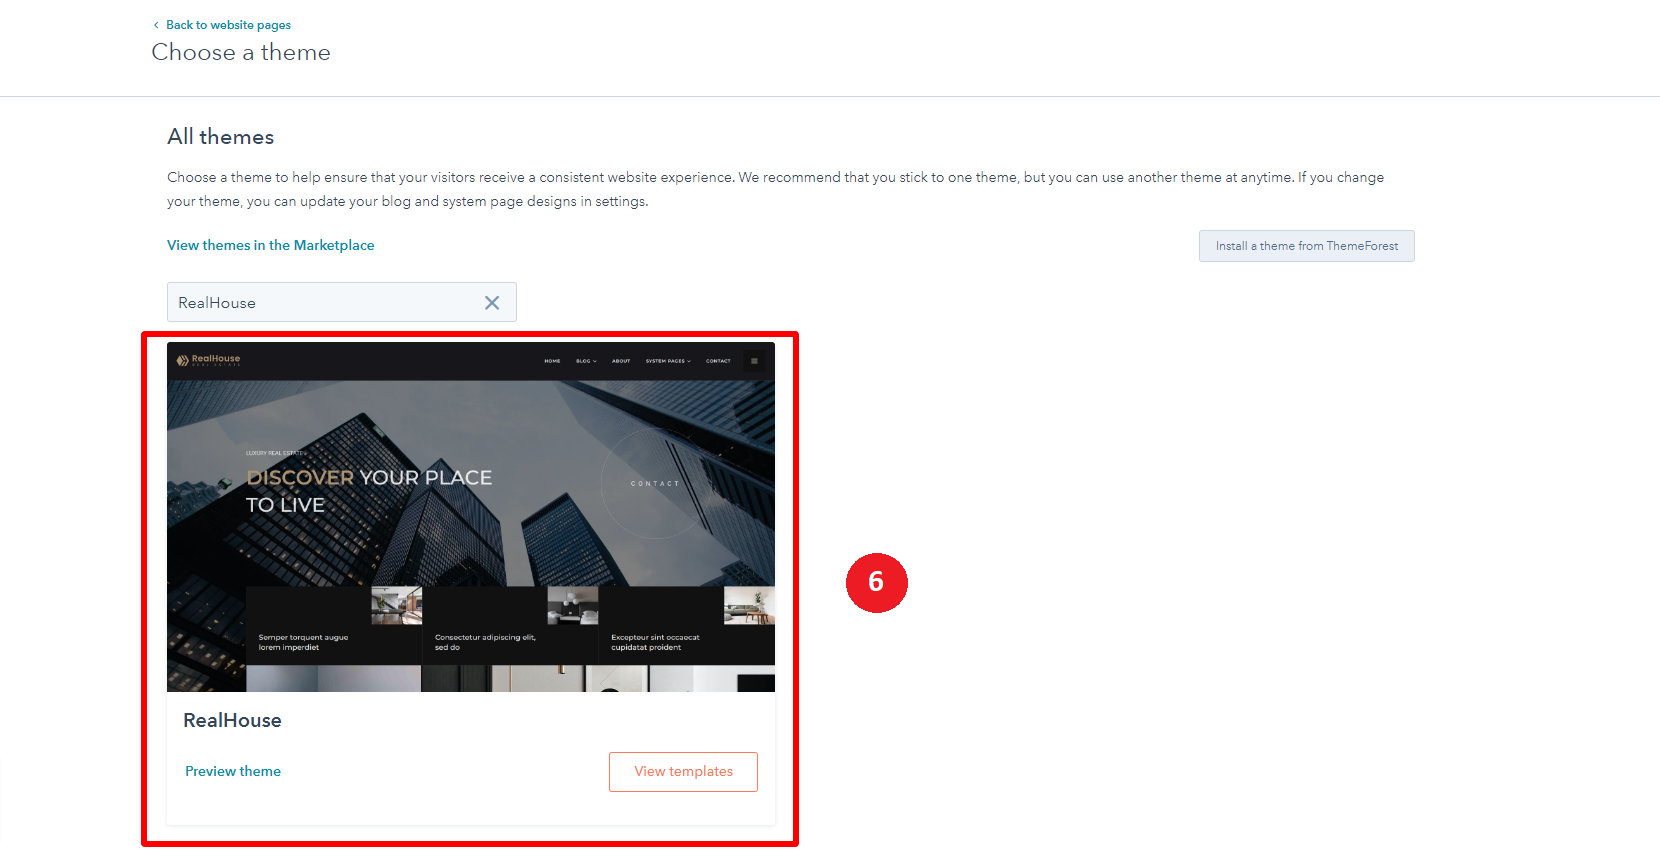
- Choose a template from your newly uploaded theme by selecting the CMS Theme RealHouse.
- Choose page Home.
- After choose page Home. Enter the name of the internal page , click Create page.
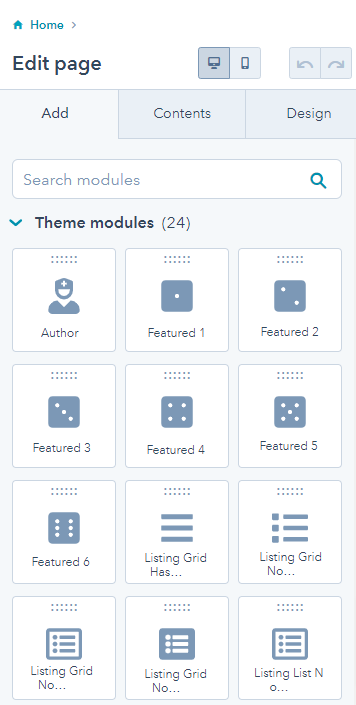
- After create page, drag and drop modules to contnet page.
- In edit page, navigate to Settings > edit Internal page name > edit Page title > Publish .
Setup Blog Posts For Template
Note:* If your hubspot account has more than one home page and you want each home page to contain different content. Follow steps below.
- In your HubSpot account, choose Marketing > Website > Website Pages.
- Choose page need to edit content (Blog posts), click Edit.
- Choose Module, in field Blog choose blog for module. Then in field Offset set offer for module. Click Apply changes.
- In top right click Update.
Theme Navigations
Setup A New Menu
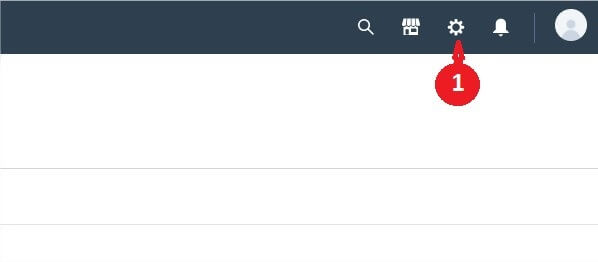
- In your HubSpot account, click the settings icon settings in the main navigation bar
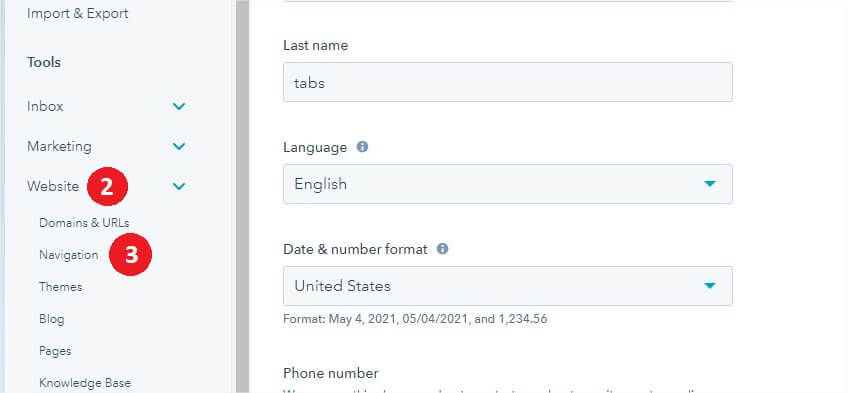
- In the left sidebar menu, navigate to Website > Navigation .
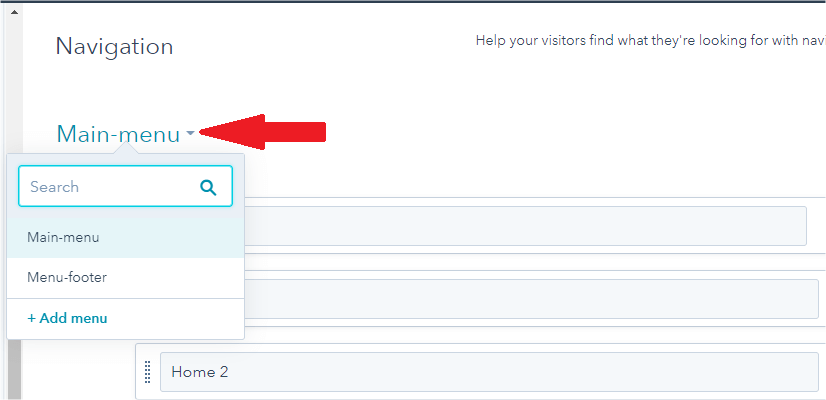
- Use the dropdown menu to select an existing menu to update. To create a new menu, click + Add menu .
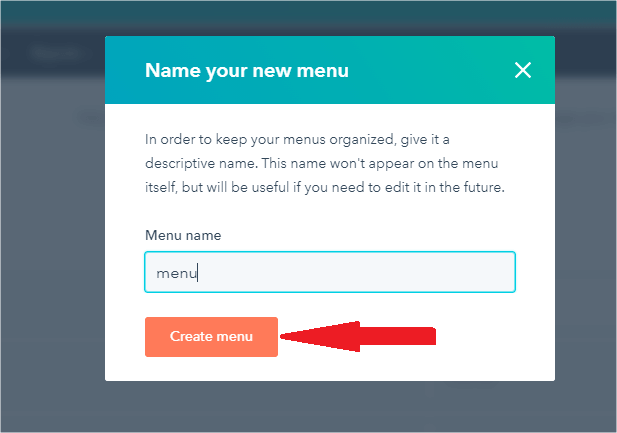
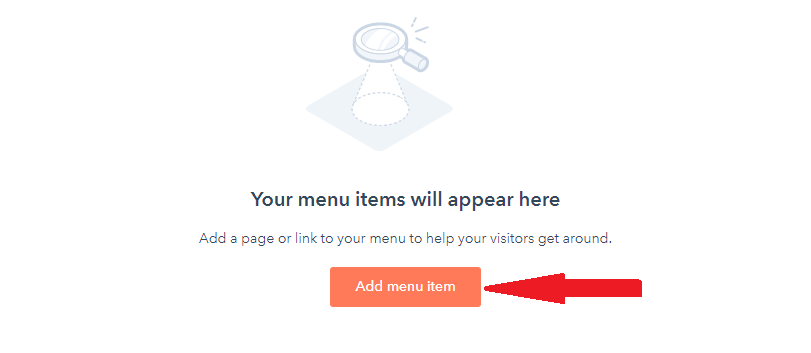
- Enter Menu name, after click Create Menu
- Click Add menu item
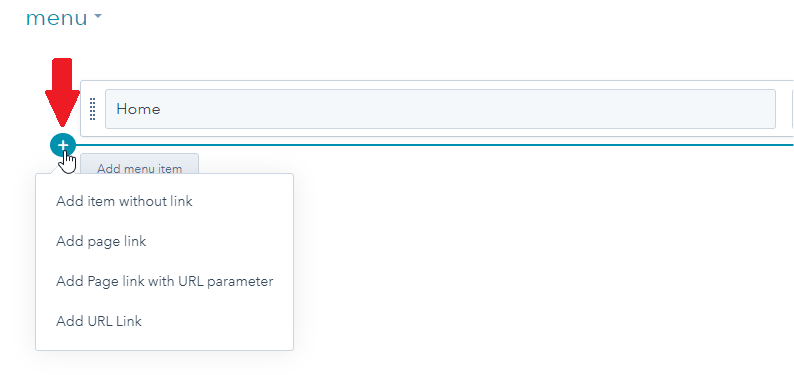
- Hover your mouse above or below an existing menu, then click the + icon and select an item to add to the navigation:
- Add item without link: adds another item to your menu that doesn't link to an existing page. This is often used as a placeholder for child menu items.
- Add page link: adds a menu item that links to a specific HubSpot page.
- Add URL link: adds a menu item that links to an external URL.
- Give your menu item a name in the Menu item label.
- Choose a HubSpot page or enter a URL for this menu item if you want it to be linked.
- Choose Action
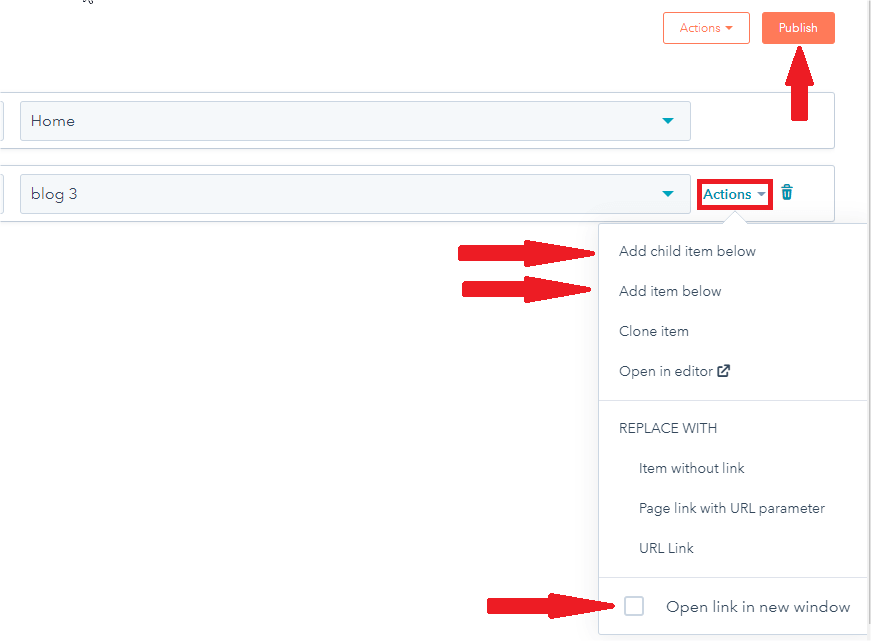
- You can also add a menu item by hovering over the right side of an existing item and clicking Actions > Add item below.
- Hover over the top-level menu item. Then click Actions and select Add child item below.
- If you want this menu item link to open in a new window, hover over the right side of the menu item. Click the Actions dropdown menu and select the Open link in new window checkbox.
- To finalize the changes you've made to your menu, click Publish.

Setup Logo for Page Default
![]()
![]()
- In your HubSpot account, click the settings icon settings in the main navigation bar.
- In the left sidebar menu, navigate to Website > Pages > Navigate to the Branding tab.
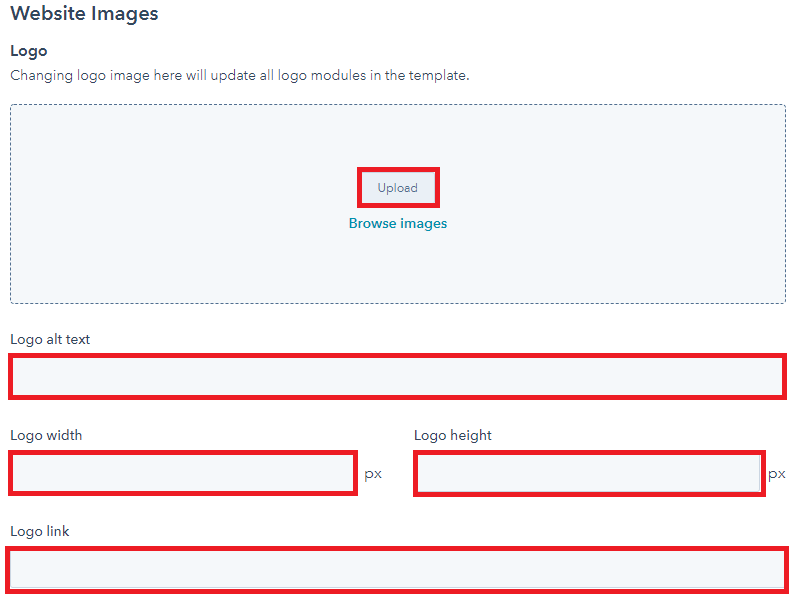
- Upload your logo
- Edit your logo's settings:
- In the Logo alt text field, add alt text that describes your logo's appearance and content
- To change your logo's dimensions, enter a width and height in the Logo width and Logo height fields.
- To direct visitors to a URL when they click on your logo, enter the URL in the Logo link field.
- In the bottom left, click Save.
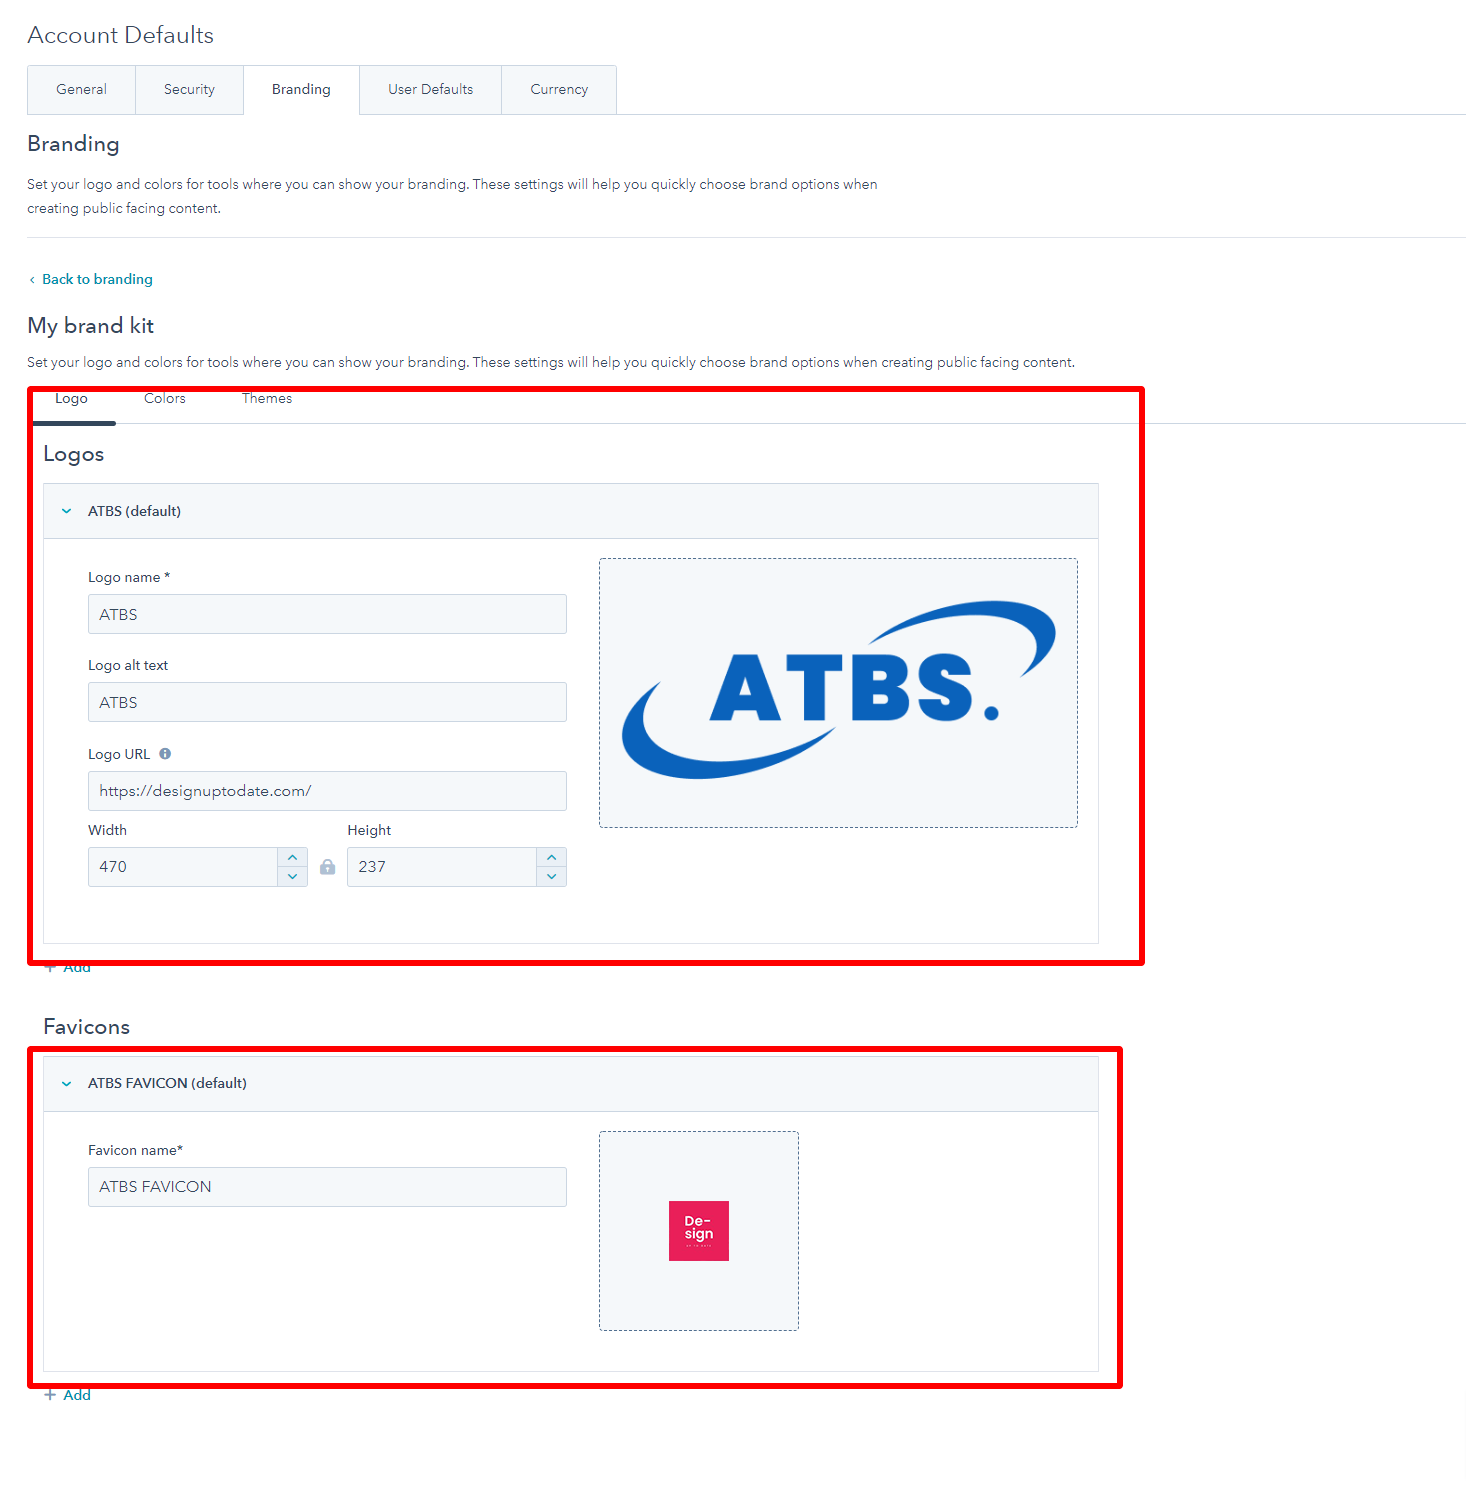
Setup Logo for Account Default
In case you don't setup the default page logo, this logo will be taken to be a default logo
- In your HubSpot account, click the settings icon settings in the main navigation bar.
- In the left sidebar menu, navigate to Account Defaults > Navigate to the Branding tab.
- Upload your logo
- Edit your logo's settings:
- In the Logo alt text field, add alt text that describes your logo's appearance and content
- To change your logo's dimensions, enter a width and height in the Logo width and Logo height fields.
- To direct visitors to a URL when they click on your logo, enter the URL in the Logo link field.
![]()
![]()
Setup Color for Account Default
- In your HubSpot account, click the settings icon settings in the main navigation bar.
- In the left sidebar menu, navigate to Account Defaults > Navigate to the Branding > tab Color
- Edit your color:

![]()
Setup Header and Footer

- From editor home page move the mouse to the header and footer of the home page then left click mouse and choose Open in global content editor.
- Edit the available modules in the header and footer.
- After edit modules click Publish to return page editor.
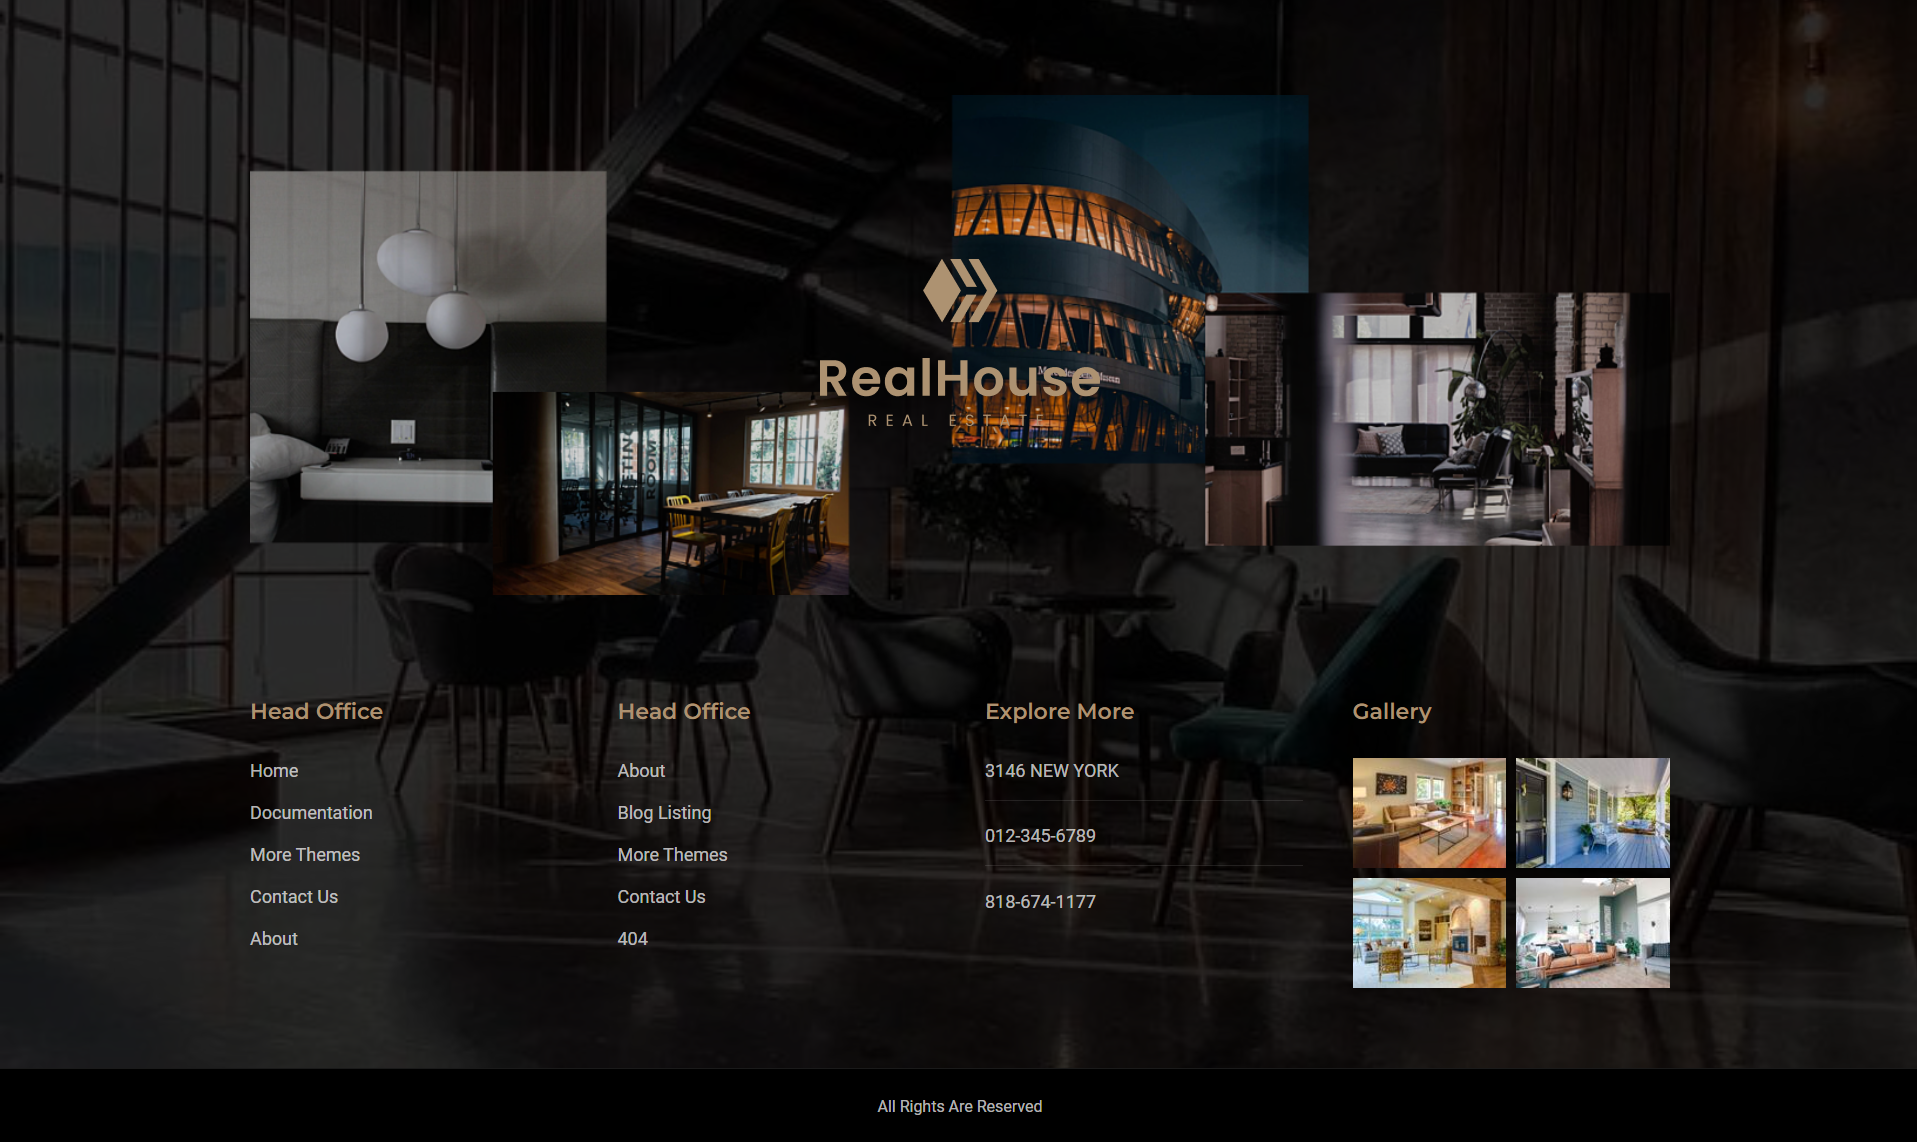
Setup Single Page (Post Page) Template
- In your HubSpot account, click the settings icon settings in the main navigation bar.
- In the left sidebar menu, navigate to Website > Blog.
- In the top right, click Create new blog.
- Set up your blog's name, language, and URL.
- In the Blog name field, enter an internal name for your blog. This name won't be seen by visitors.
- Click the Blog language dropdown menu and select a language. This determines how dates are formatted in your posts and listing page.
- Click the Blog URL dropdown menu and select the domain your blog will be hosted on.
- If you will be using a subdirectory (e.g. /blog or /news), enter the subdirectory in the Blog URL field.
- Select the Use language slug in URL checkbox to include a shortened version of your blog language in the URL
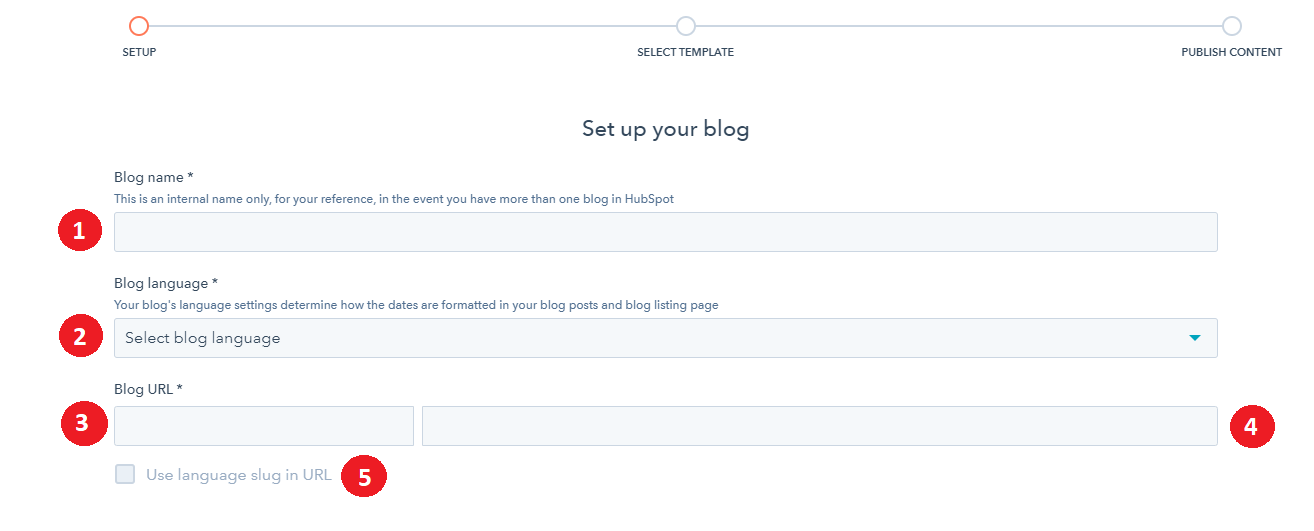
- Click Next.
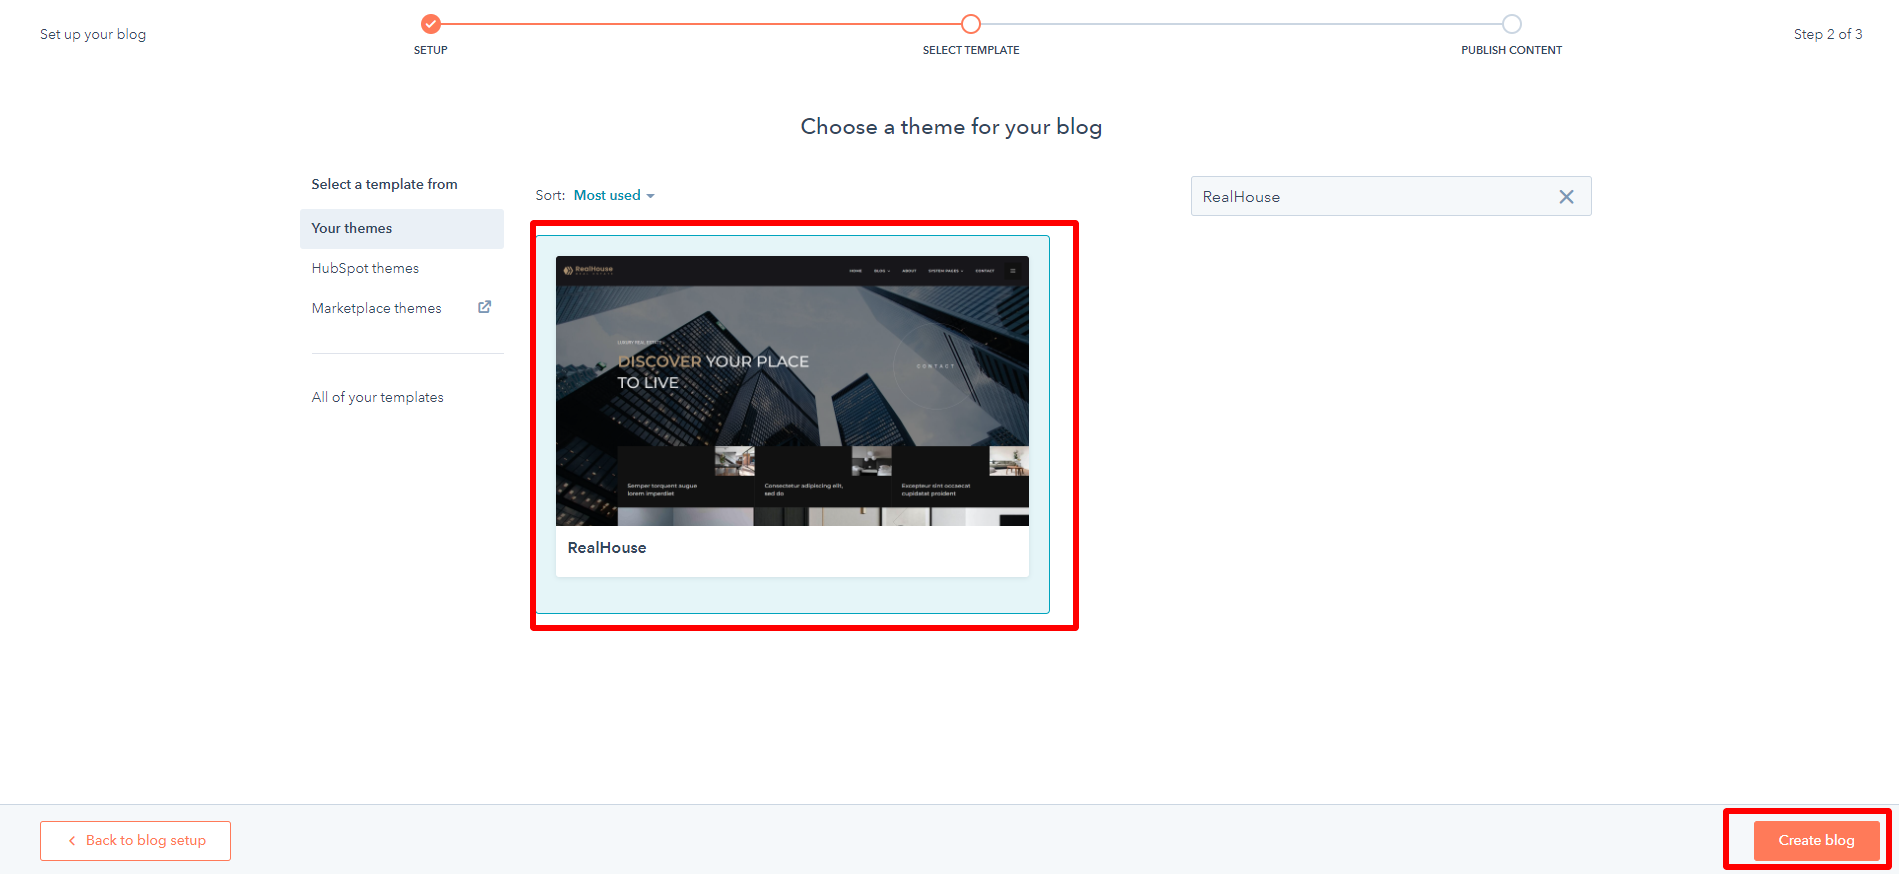
- Select a template for your blog posts, then select a template for your listing page.
- In the bottom right, click Create blog.
Import Posts
- In your HubSpot account, click the settings icon settings in the main navigation bar.
- In the left sidebar menu, navigate to Website > Blog.
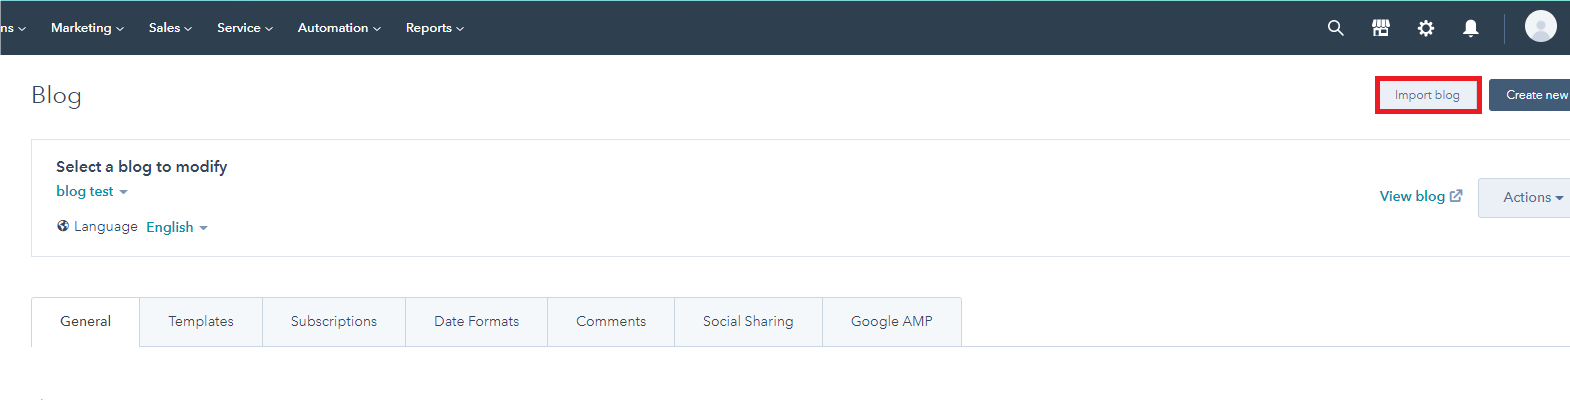
- In the top right, click Import Blog.
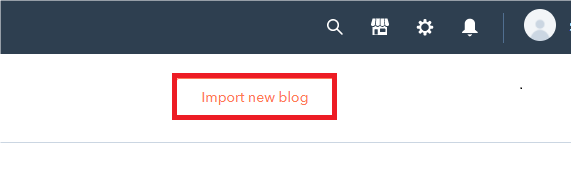
- Click Import new blog.
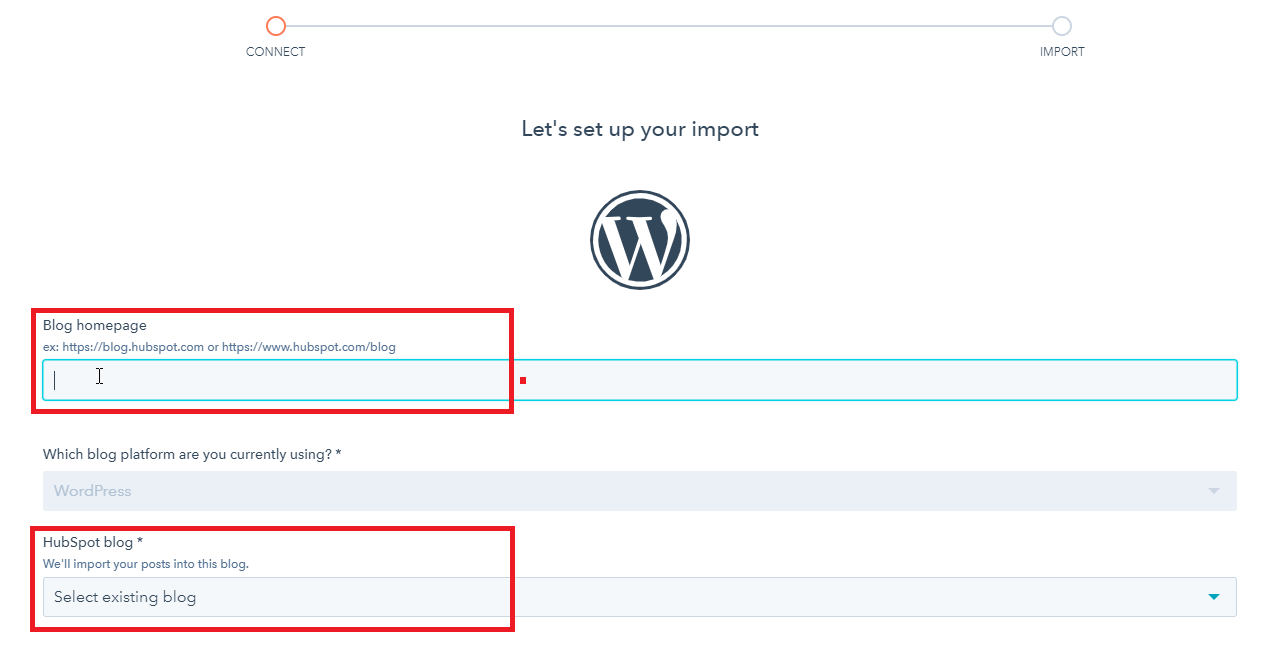
- After choose type Import Samrt copy, WordPress Connect, CSV file upload, XML file upload.
- copy the link of your wordpress website and paste it into the home page blog file. Choose blog need to import post, Then click Copy blog posts
- In the top right, click Import new blog.
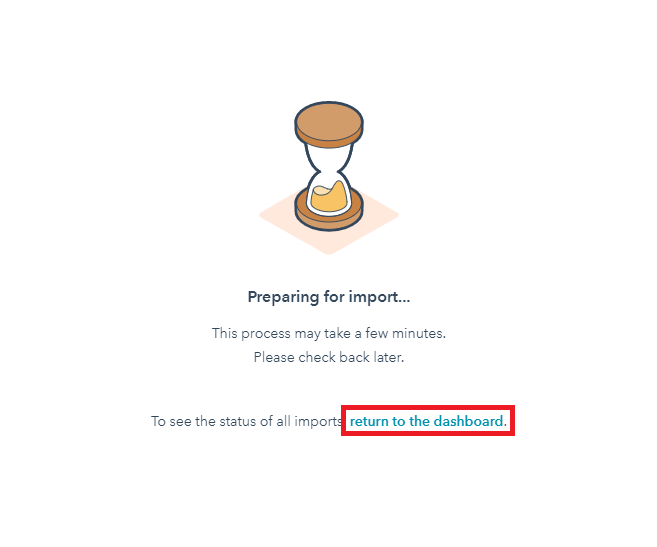
- Click return to the dashboard..
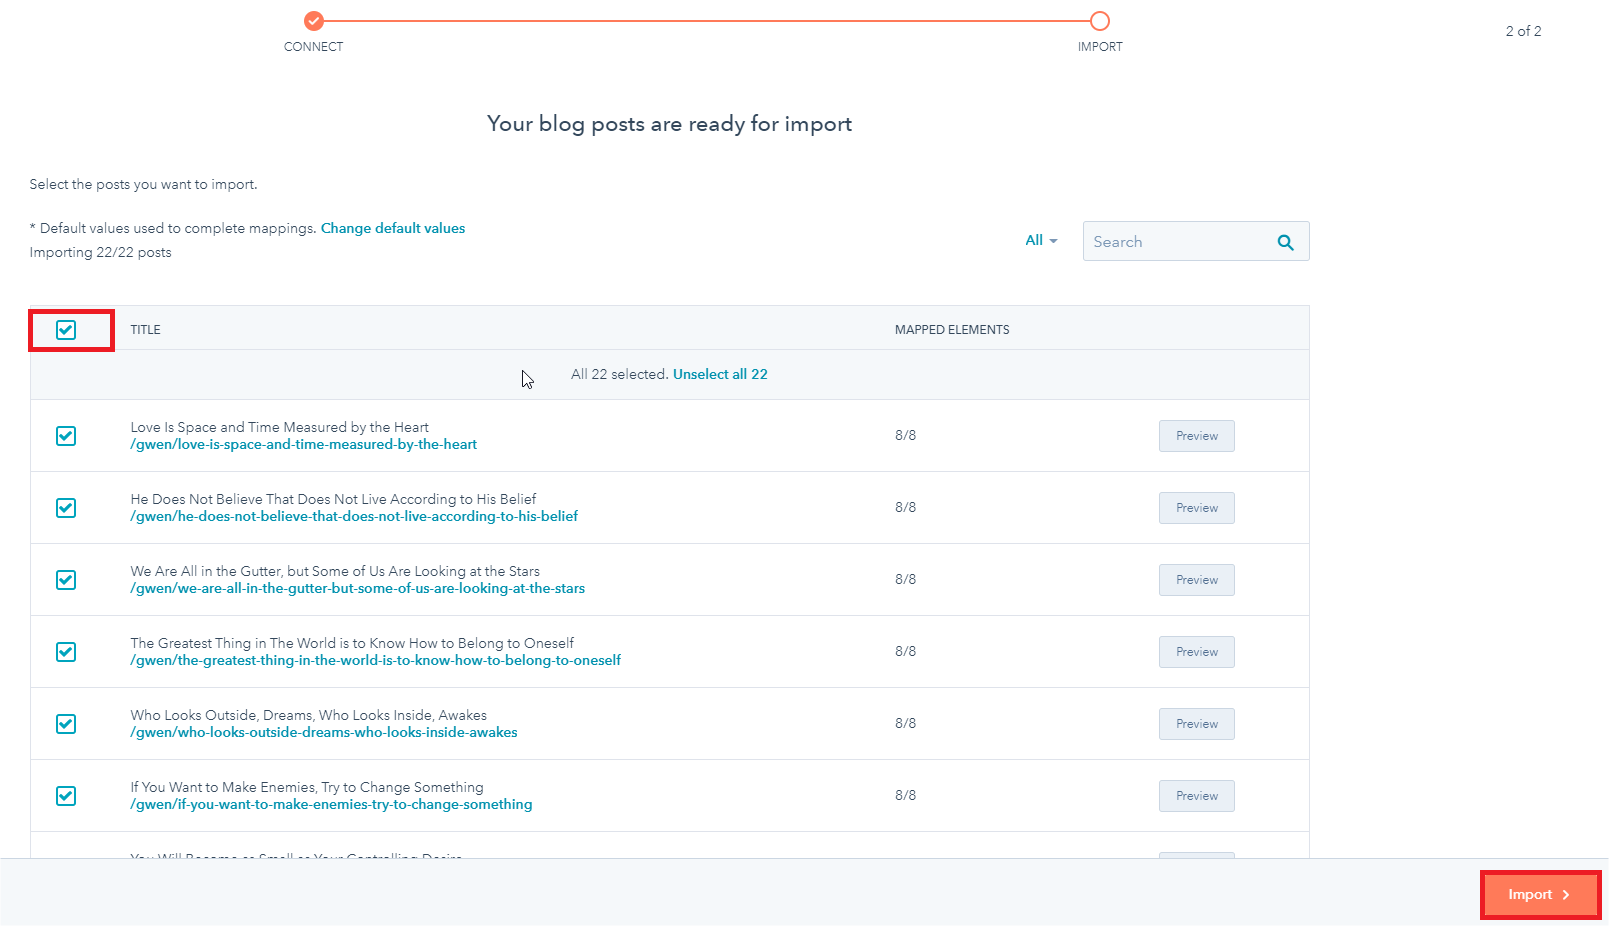
- Click Review results. Then choose posts need to import and click Import
- Choose Import all content as "Published" and Overwrite any existing content with imported content, then click Save
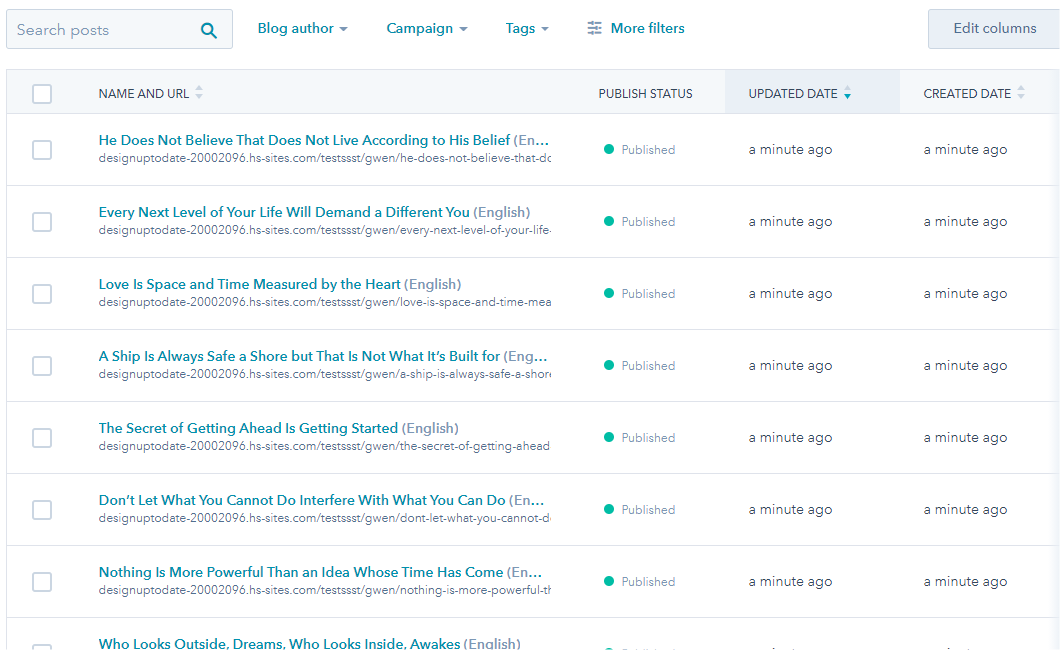
- Wait a few minutes. Then click View Posts.


System Pages
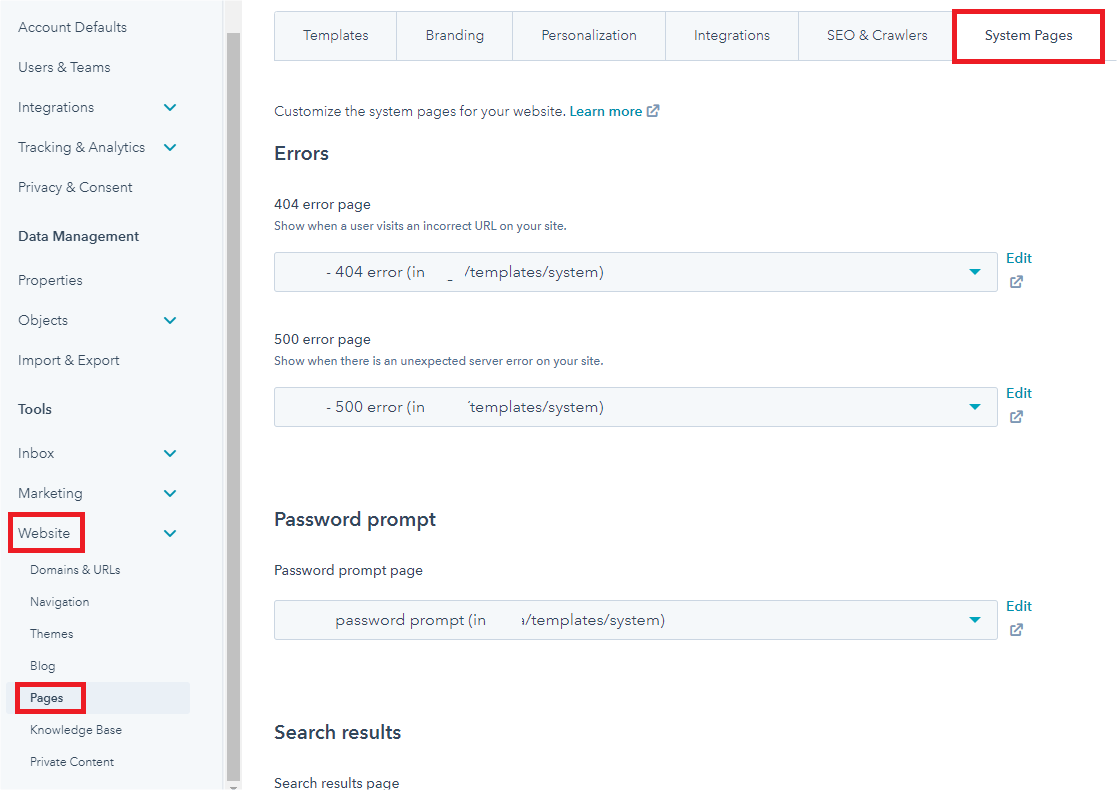
- In your HubSpot account, click the settings icon settings in the main navigation bar.
- In the left sidebar menu, navigate to Website > Pages .
- Click the System Pages tab.
- Edit system pages
- Click icon Edit to choose corresponding system pages
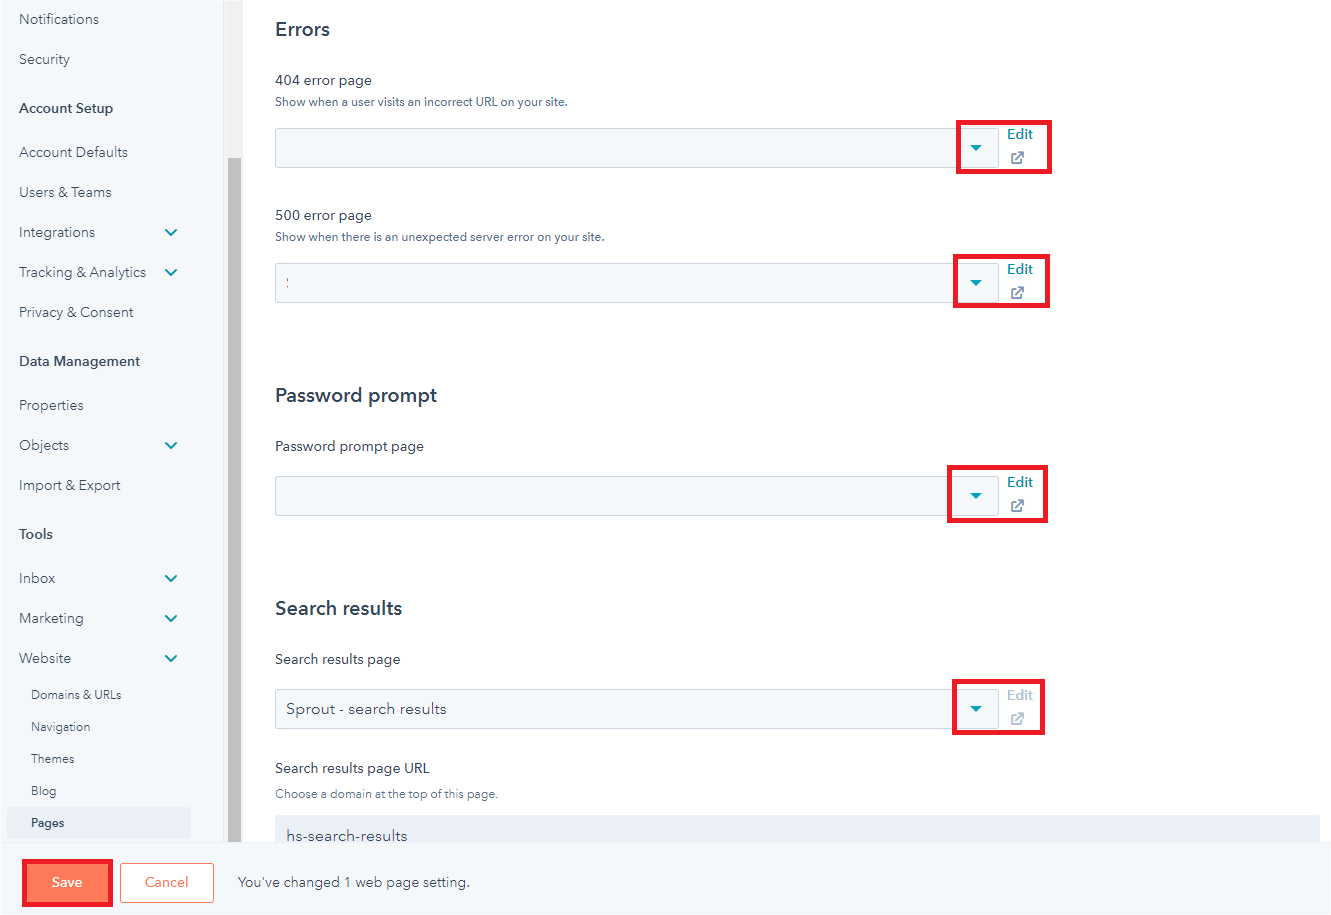
- In the bottom, Save.
Module Drag and Drop
- In HubSpot, navigate to Marketing > website > website Pages.
- Click Edit.
- Drag Modules from the left sidebar into the content page.
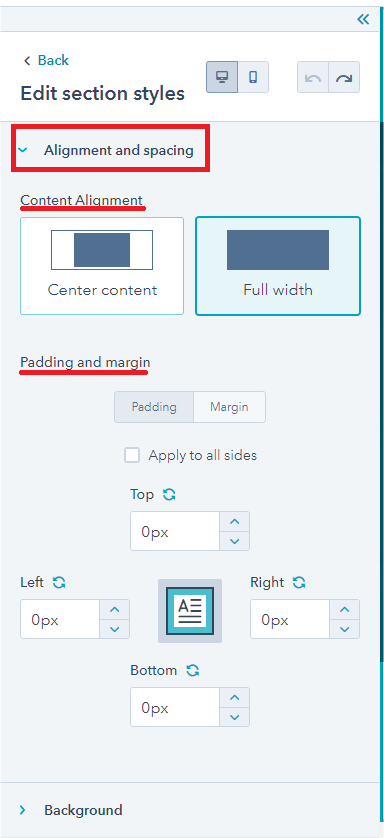
- After drag module move mouse to the section then click icon dropdown and choose Style section
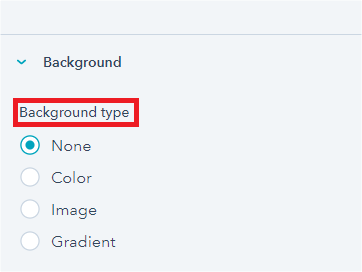
- In left sidebar choose Alignment and spacing, Background to set content alignment, padding, margin and background for section.
- After style for section click Update.

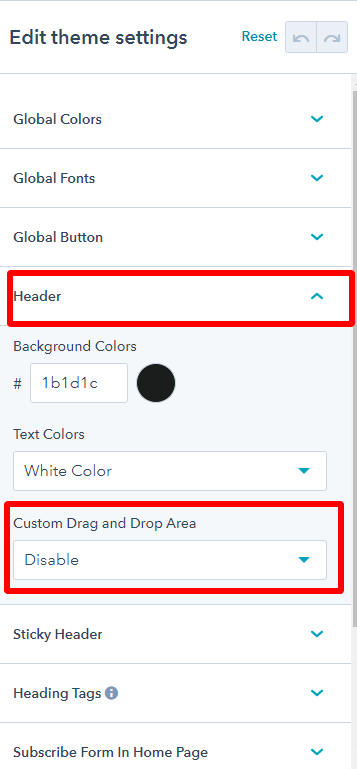
Header Drag and Drop
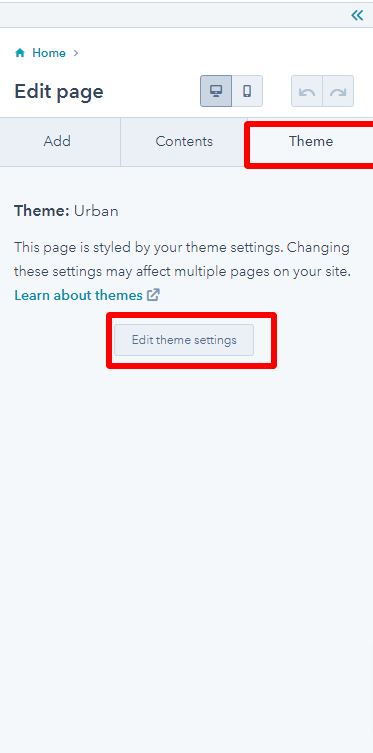
- Navigate Edit page > Theme > Edit theme settings .
- Header > Enable Custom Drag and Drop Area.
- After style for section click Update.
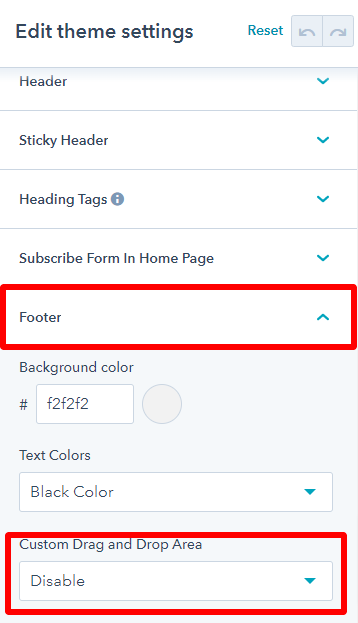
Footer Drag and Drop
- Navigate Edit page > Theme > Edit theme settings .
- Footer > Enable Custom Drag and Drop Area.
- After style for section click Update.
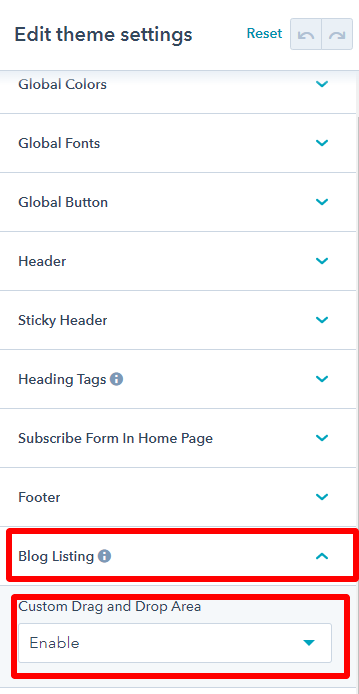
Blog Listing Drag and Drop
- Navigate Edit page > Theme > Edit theme settings .
- Blog Listing > Enable Custom Drag and Drop Area.
- After style for section click Update.
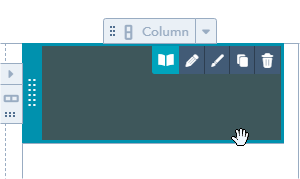
Edit Modules
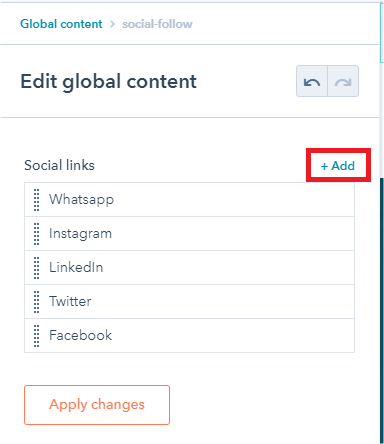
Module Social

- When setting Header or Footer choose module social
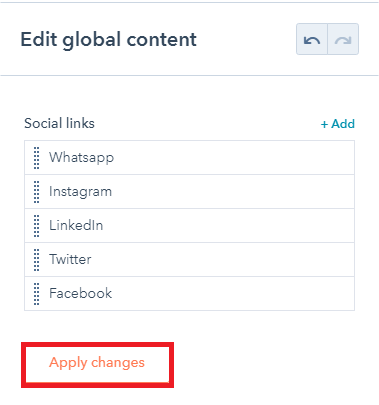
- Edit module social:
- Click + Add to add new social.
- Click icon Edit to edit an social.
- Click icon Clone to clone an social.
- Click icon Delete to delete an social.
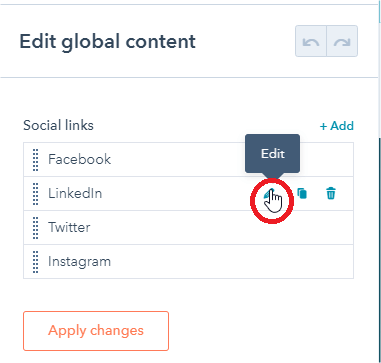
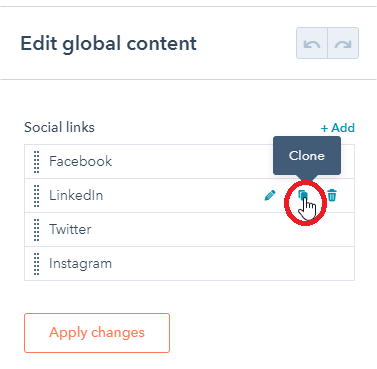
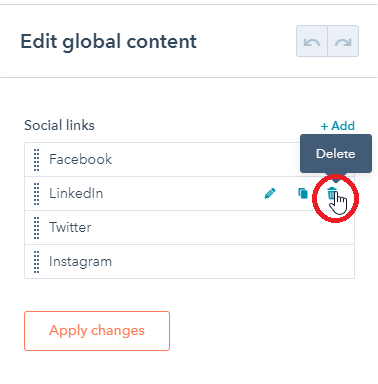
- In the bottom, click App changes
Module Menu
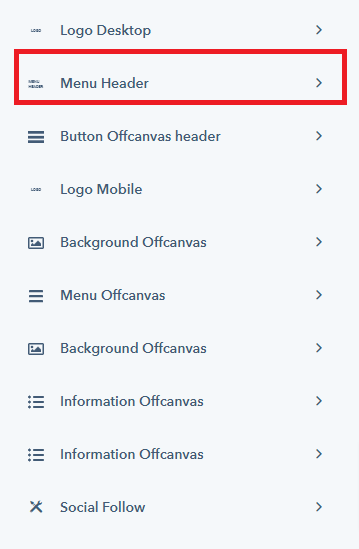
- When setting Header or Footer choose module menu-section
- Edit module menu-section:
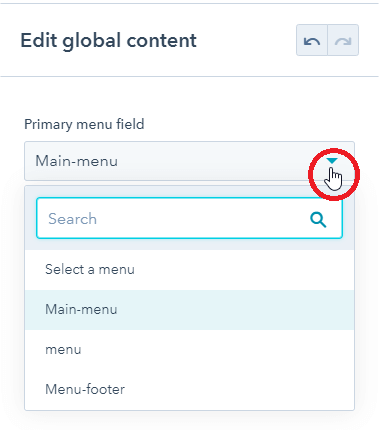
- Click icon dropdown to choose other navigation.
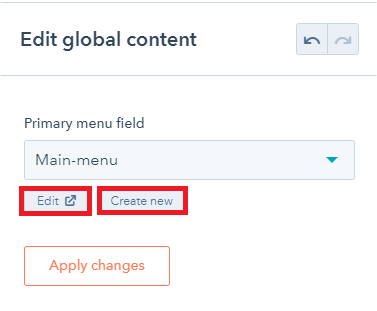
- Click Edit or Create new to edit or create new navigation.
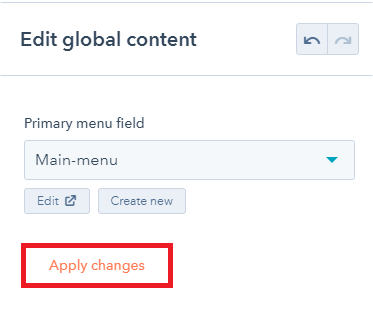
- In the bottom, click App changes
Create Form
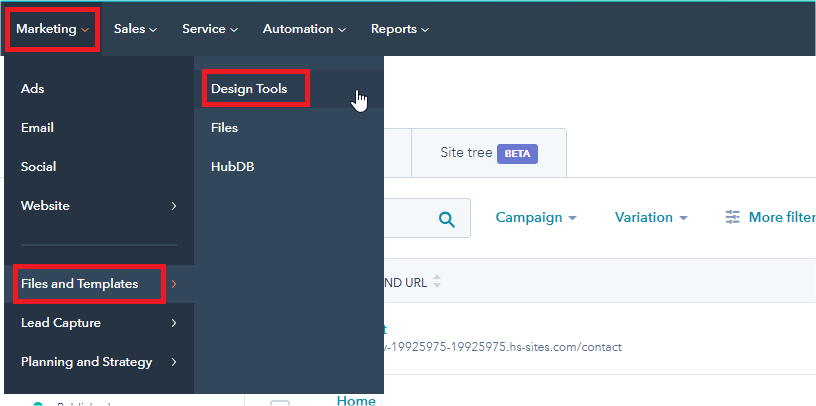
- In your HubSpot account, navigate to Marketing > Files and Templates > Design Tools.
- In left sidebar choose your theme
- Inside RealHouse folder choose Modules > contact-form-realhouse.
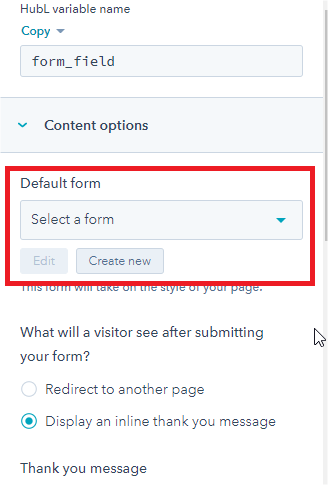
- In right sidebar find to Form and click Edit
- In Content options click Create new
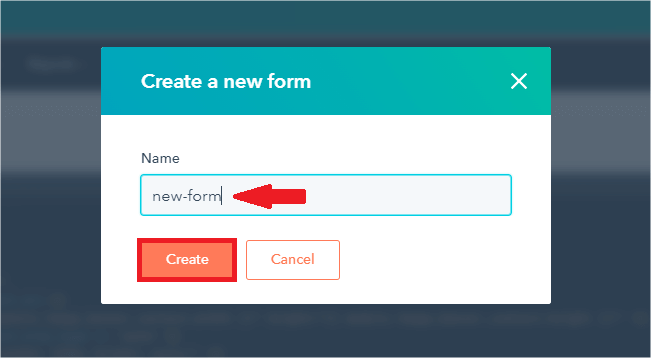
- Enter name form, after click Create.
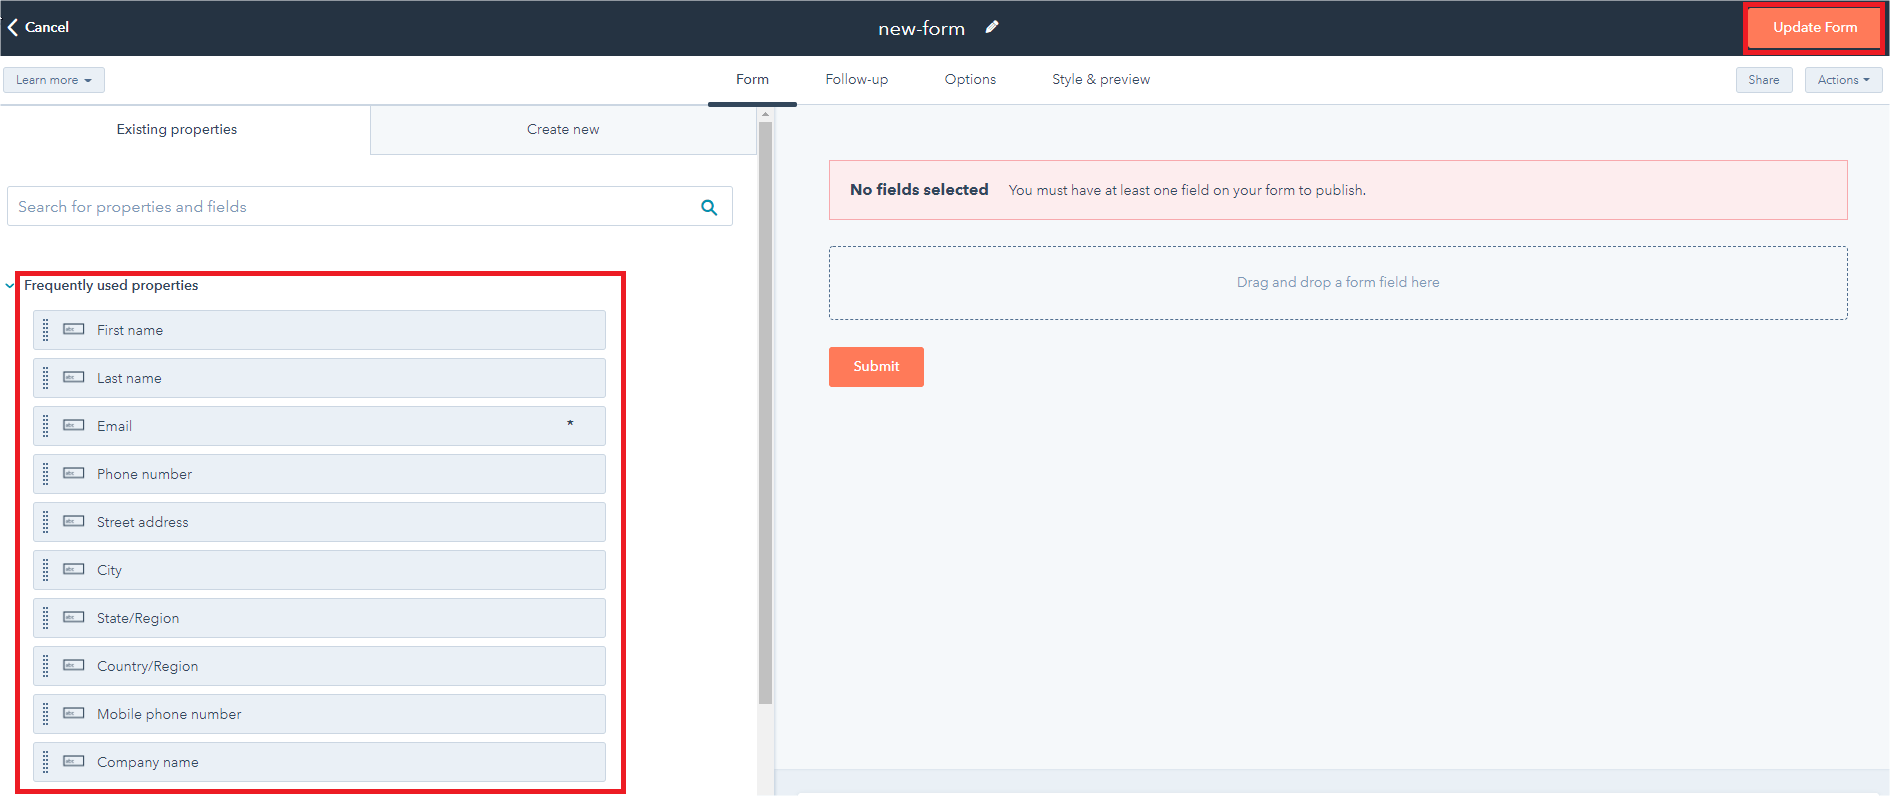
- Choose fields your form, click update From to finish.
- Form after create.

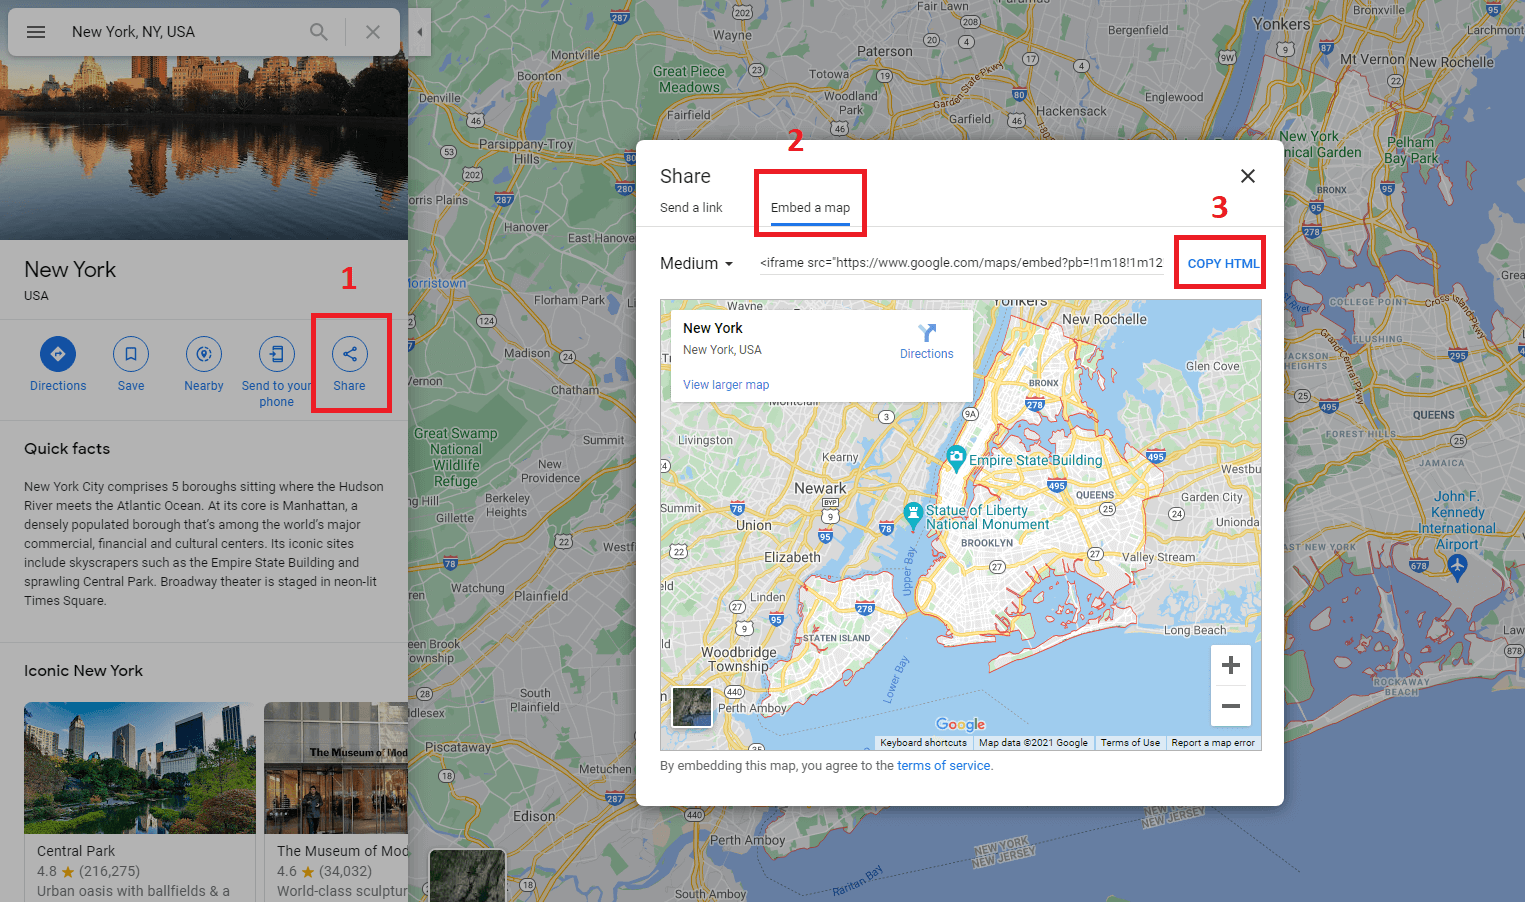
Create Form Maps
- Go to google map and copy the HTML code
- In your HubSpot account, navigate to Marketing > Files and Templates > Design Tools.
- In left sidebar choose your theme
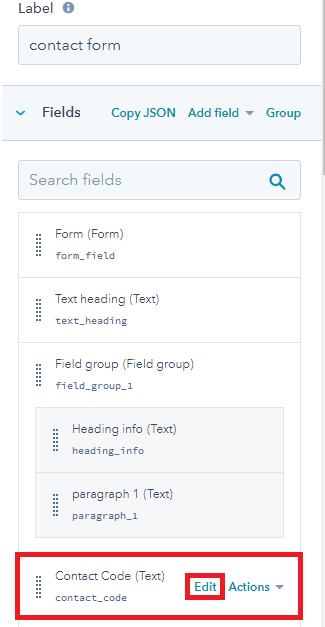
- Inside RealHouse folder choose Modules > realhouse-contact-form.
- In right sidebar find to Contact Code (Text) and click Edit
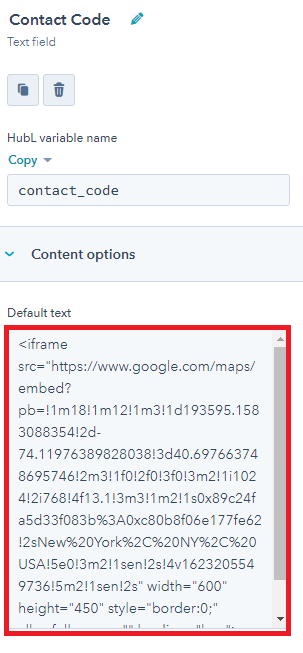
- In top files realhouse-contact-form paste that code from Google Maps
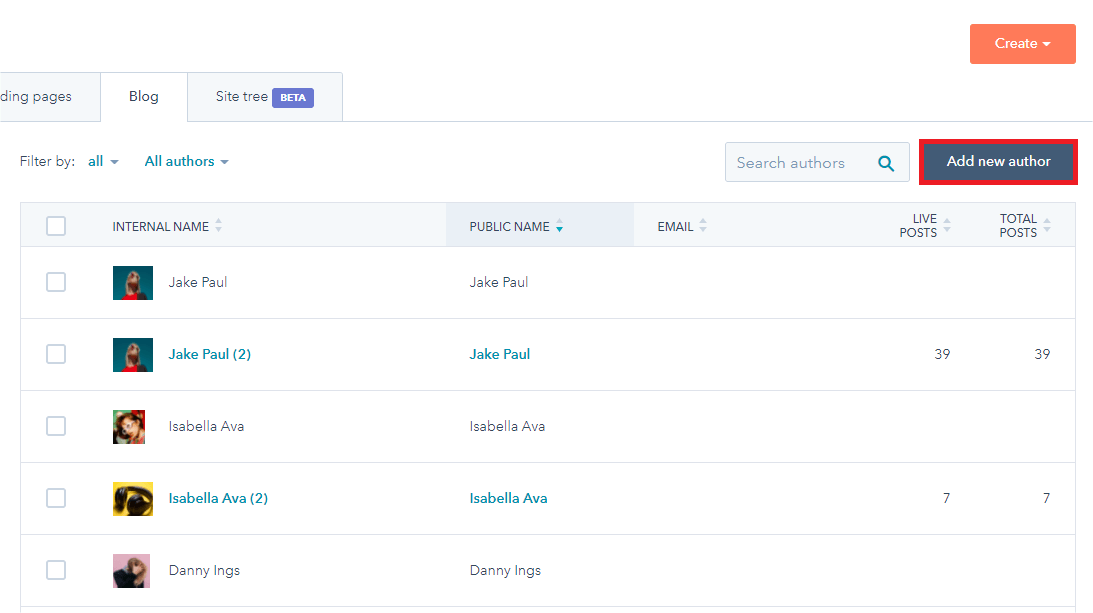
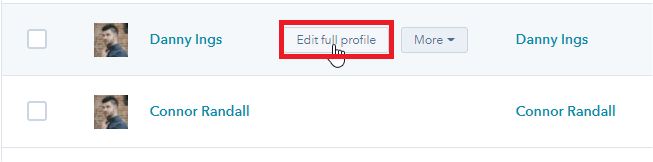
Create Author
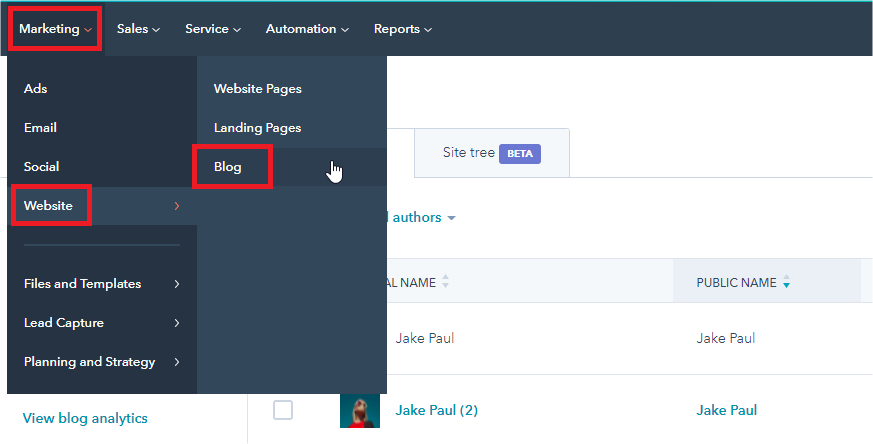
- In your HubSpot account, navigate to Marketing > Website> Blog.
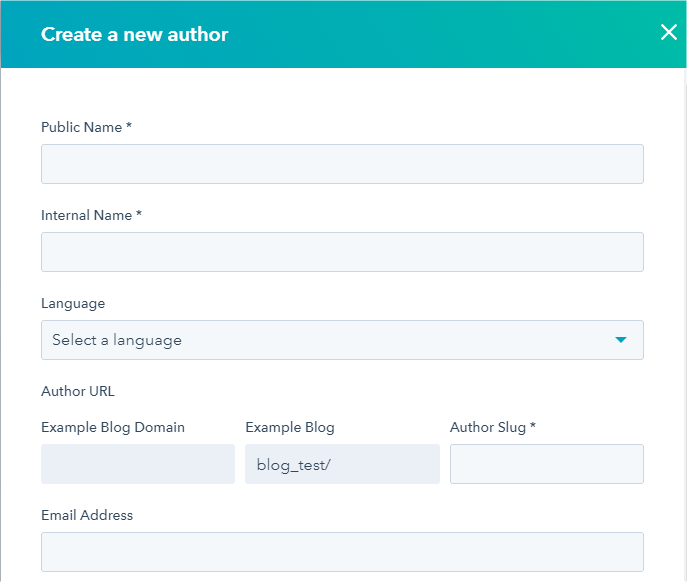
- In top right click Add new author.
- Enter auhtor's fields, then click Create author.
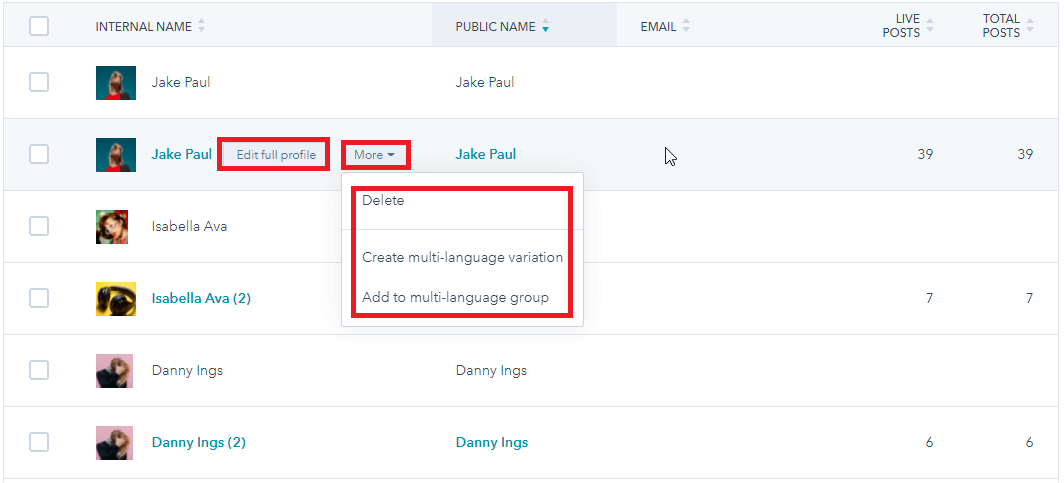
- Move mouse to the author need edit, choose Edit full profile or More.

Note:* If you want edit or more action, click Edit full profile or More.
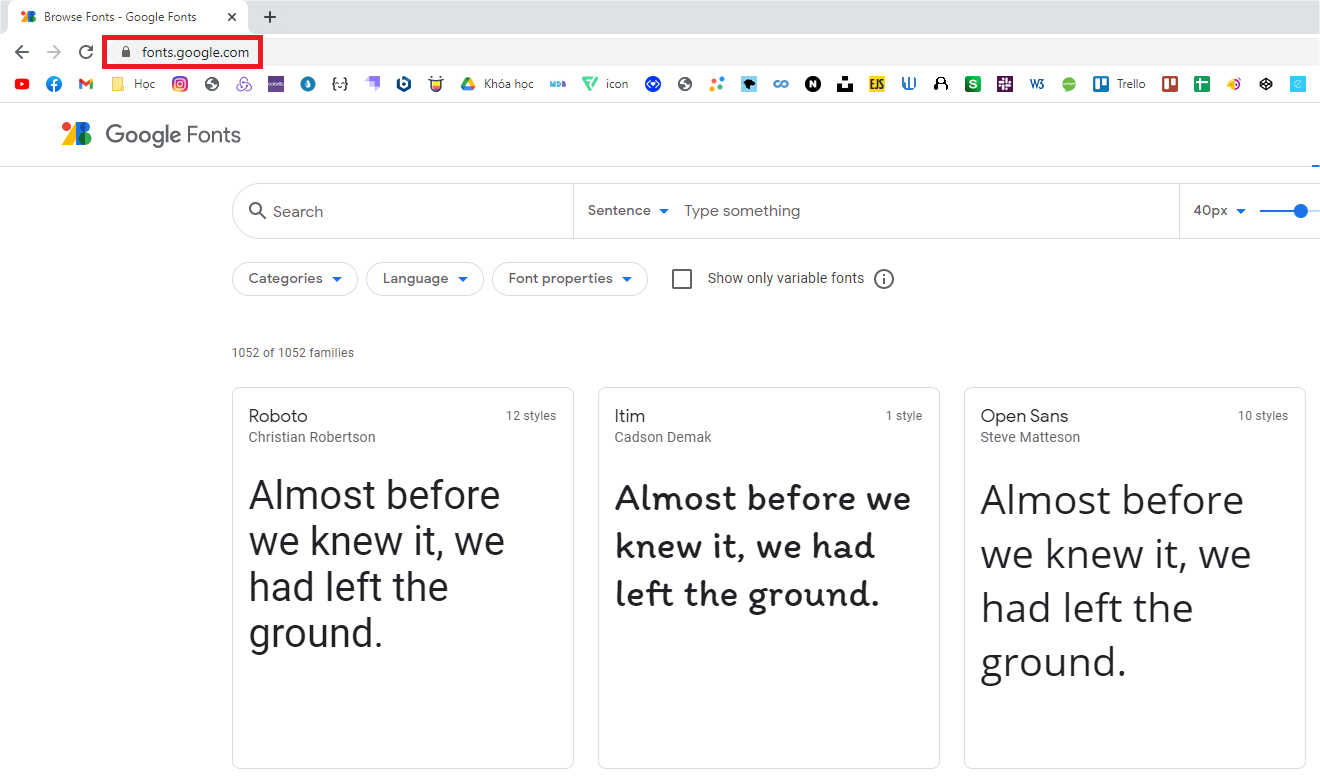
Custom Font
- Go to https://fonts.google.com/ choose a font for your theme.
- Click Select this style.
- In right sidebar, choose @import, and copy this code below @import.
- In your HubSpot account, navigate to Marketing > Files and templates > Design tools.
- In left sidebar, choose RealHouse > css > atbs-style.css .
- In top files style.css paste that code from https://fonts.google.com/.


Multi-language
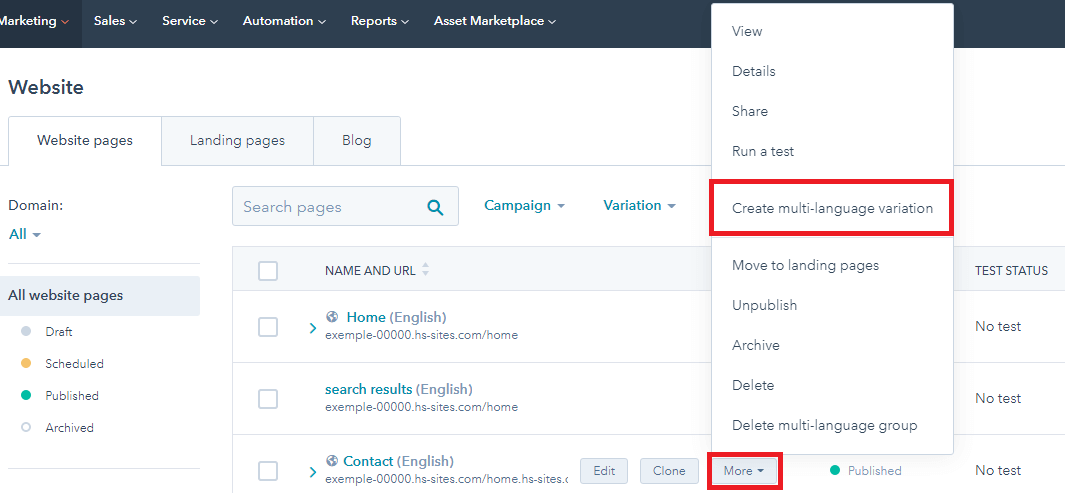
- In your HubSpot account, choose Marketing > Website > Website Pages.
- Choose page need to add language, click dropdown More > choose Create a multi-language variation
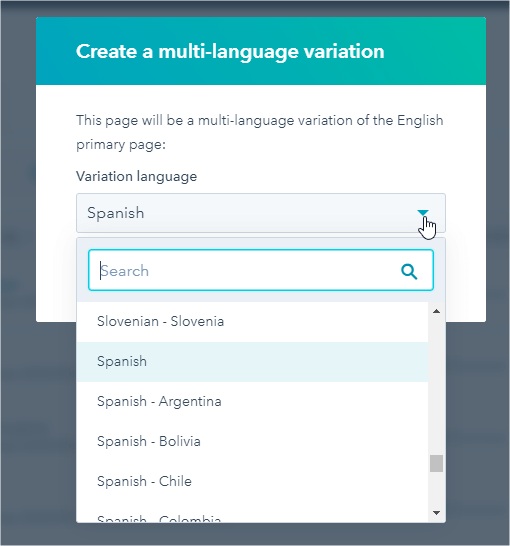
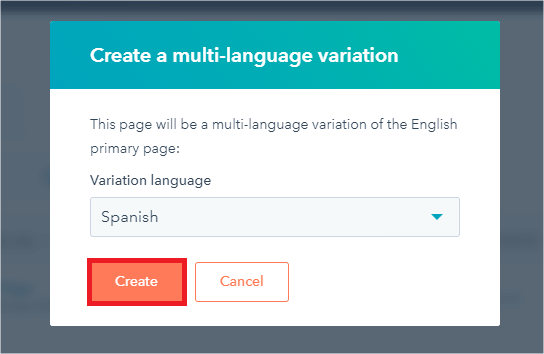
- Select a language choose page. Then click Create.
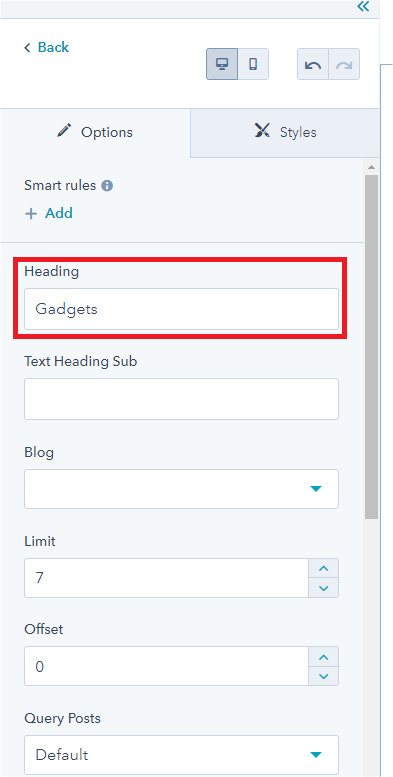
- Translate your page content into selected language.
- Click Publish.
Note:* Links to learn more about Multi-language Page, Blog
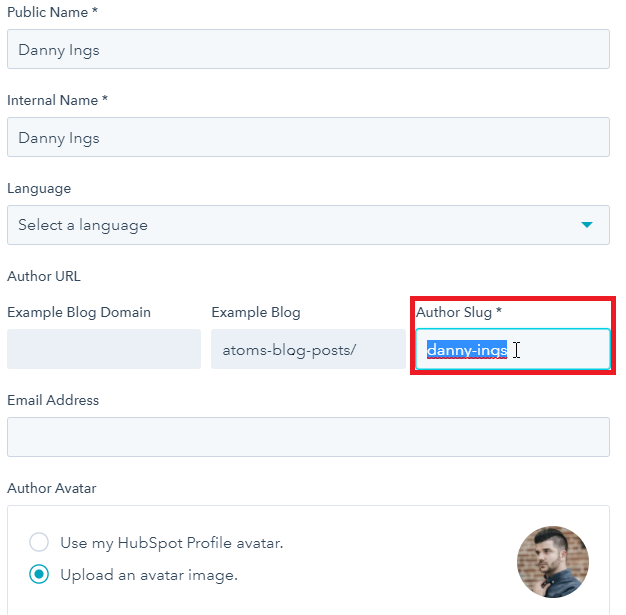
Choose Author For Module
- When edit content page, Module widget about display above
- In your HubSpot account, choose Marketing > Website > Blog > Authors. Click Edit full profile.
- Copy field Author Slug.
- Return to edit content page. Choose Blog then paste Author Slug in to field Author Slug
- Click Apply changes.
- Click Publish.

Contact
If you have any problem with the template, you can post your question on ThemeForest comment section or email us at bkninja.team@gmail.com . We will try to answer as fast as possible. Our timezone is GMT +7.
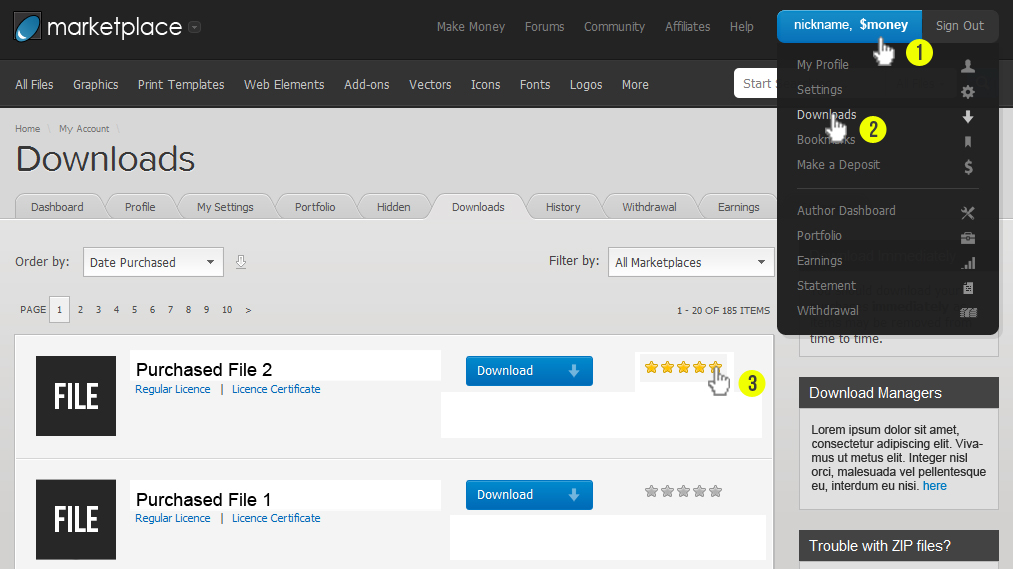
Help us by rating this theme
If you like this theme please help us rate it 5 stars on ThemeForest by following the instruction below. We appreciate your kindness so much!